Projection Screen Gain and Viewing Angle Explained
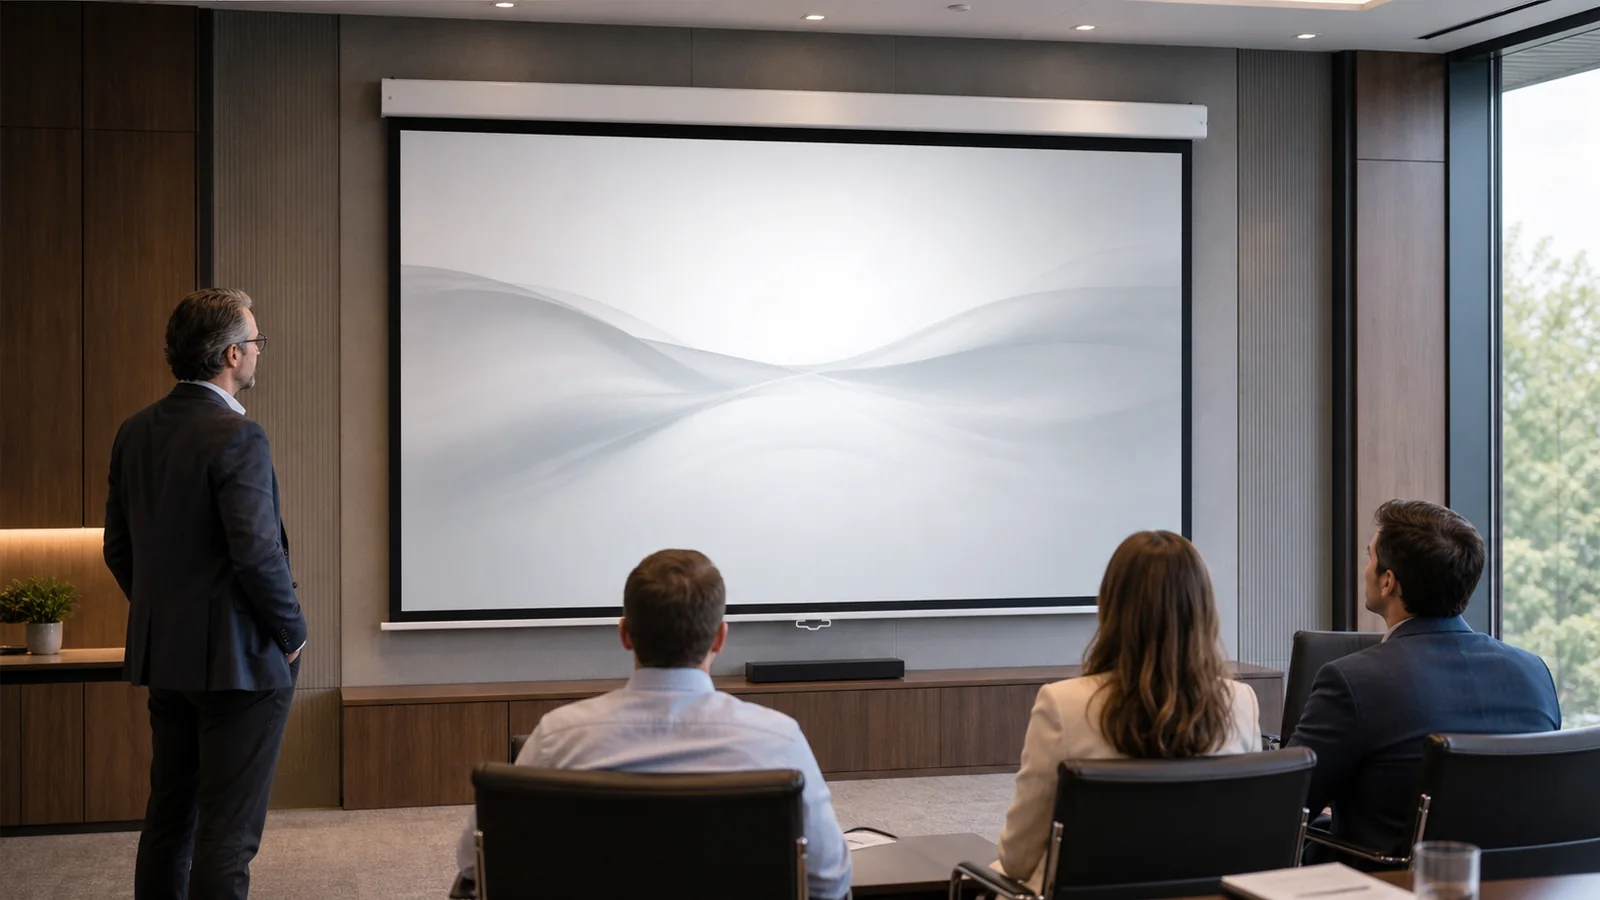
Projection screen gain describes how a surface directs reflected light compared with a reference surface; viewing angle describes how far viewers can move off-axis before the image changes noticeably. These properties must be judged together. A surface that concentrates more light toward the center may narrow comfortable side viewing or reveal hotspotting. Select from the room, seating width, projector geometry, ambient light and a reviewed material sample—not from one gain number.
In This Guide
What Gain Actually Measures
Gain is a directional reflection description, not a promise that every seat will see a uniformly brighter image. The published value is useful only when the reference method, measurement direction and exact material are understood. It does not replace projector light-output planning, room-light control or an on-site sample review.
Use the Screen Materials guides to compare surface families, then confirm the exact surface name and compatible screen construction in the quotation.
Browse MGF screen materials to check the listed surfaces and compatible screen models. Confirm the exact material code and sample availability before specifying it for an order.
Screen Gain and Viewing Angle: What to Compare
As a surface directs more reflected light toward a preferred area, the acceptable viewing area can become more sensitive. Broad seating usually favors even behavior across the room; a narrower, controlled seating zone may tolerate a more directional surface when the projector geometry is suitable.
Gain and Viewing-Angle Tradeoff
| Project condition | What to prioritize | What to verify on a sample |
|---|---|---|
| Wide seating or viewers near side walls | Consistent brightness and color across off-axis seats | Compare center, near-side and far-side seats with the same content |
| Narrow central seating | Controlled reflection may be considered | Check whether the center becomes visibly brighter than adjacent areas |
| Mixed presentation and video use | Readable detail without obvious spatial brightness change | Use slides, faces, dark scenes and a uniform test image |
| Unknown final seating plan | A conservative, broadly usable surface direction | Do not approve from a centered sample photo alone |
Hotspotting: When Gain Becomes Visible
Hotspotting is a visibly brighter area that follows the relationship between projector, surface and viewer. It can appear as a central glow, a bright band or uneven luminance during camera moves and uniform images. The risk must be reviewed from actual seats because a centered observer can miss a problem seen from the side.
Test the material at the intended image size with the projector in its planned position. Check several seats, uniform light and dark images, and normal program content. Record the room lighting and camera exposure so sample evidence can be repeated.
Grey Surfaces and ALR Are Not More Gain
Grey, matte white and ambient-light-rejecting surfaces describe different optical directions and should not be ranked by color or a single gain label. ALR behavior depends on where projector light arrives and where unwanted light arrives; an unsuitable geometry can reject useful light or send it away from viewers.
Short-throw and ultra-short-throw systems require confirmation for the exact surface and projector position. Compare the ALR versus matte white guide and do not assume that a grey surface is ALR or that an ALR surface is compatible with every projector.
Choosing by Room, Not by Number
Who This Fits—and Who It Does Not
| Good fit for this decision process | Pause and resolve first |
|---|---|
| Rooms with a known projector position, image size and seating plan | Projects selecting material before the projector or seating is known |
| Buyers able to review a traceable sample in representative lighting | Approvals based only on a material name, web image or centered photo |
| Wide-seat rooms that explicitly check off-axis behavior | Rooms with conflicting light and projector geometry that have not been mapped |
1. How wide is the seating area?
Mark the center seat and the farthest left and right seats. Judge the same content from each position rather than estimating viewing angle from the room width alone.
2. How much ambient light is there, and can you control it?
Record daylight direction, task lights, luminaires and whether they are used during projection. Light control may solve more than a more directional surface.
3. What is the projector geometry?
Record projector type, lens position, throw direction, mounting height and image size. These determine how light reaches the screen and returns toward viewers.
4. What does the application prioritize?
State whether the room prioritizes broad collaboration, centered cinema viewing, readable presentations, photography or a mixed use. The acceptance method should follow that priority.
For meeting-room projects, use the conference room screen selection page to compare screen formats alongside seating, installation and control requirements.
Room, Seating and Projector Decision Matrix
| Observed condition | Material direction to investigate | Approval evidence |
|---|---|---|
| Controlled light and wide seating | Start with broad, even surface behavior | Center and edge-seat comparison |
| Uncontrolled side or overhead light | Map light direction before discussing ALR | Sample under normal operating lights |
| Short-throw or UST projector | Only surfaces confirmed for the exact geometry | Projector-position drawing and full-size test where practical |
| Repeated dealer or OEM project | Version-controlled material and construction | Approved sample code, quotation and written acceptance record |
Material Sample Acceptance Workflow
- Identify the exact material name, construction and sample reference.
- Set the sample at the planned projector angle and representative room light.
- Compare center and side seats using the same test images and program content.
- Record acceptable brightness uniformity, color, texture, hotspotting and viewing behavior.
- Link the approved sample reference to the quotation and production specification.
Use the material sample evaluation checklist to keep the review repeatable.
Specifying Surface Behavior in a B2B Order
A buyer should specify the room and acceptance condition, not only a requested gain. For distributor and OEM orders, keep the surface name, sample code and compatible construction under revision control.
| RFQ field | Information to provide |
|---|---|
| Application and room | Use case, dimensions, ambient-light direction and control |
| Seating | Closest seat, farthest seat, left/right limits and priority viewing zone |
| Projector | Model, throw type, lens position, mounting and image size |
| Screen construction | Fixed, retractable, tensioned or other required product family |
| Material acceptance | Exact material, sample reference, inspection content and sign-off owner |
| Commercial record | Quantity, destination, packaging, branding and quotation revision |
FAQ
Does higher gain always make the image better?
No. The result depends on projector output, room light, seating, geometry and whether directional behavior is visible from real seats.
Can viewing angle be approved from a product photo?
No. Review the exact material from center and side seats under representative projector and lighting conditions.
Is every ALR surface suitable for UST?
No. Confirm the exact projector geometry and surface compatibility in writing.
What should a distributor keep as the approval record?
Keep the named sample, quotation revision, screen construction, test condition, observations and approving person together.
Get a Material Recommendation for Your Room
Send the room plan, seating limits, projector model and position, visible image size, ambient-light condition, screen construction, quantity, destination and sample requirement.