Projection Screen Size and Aspect Ratio Guide for AV Projects
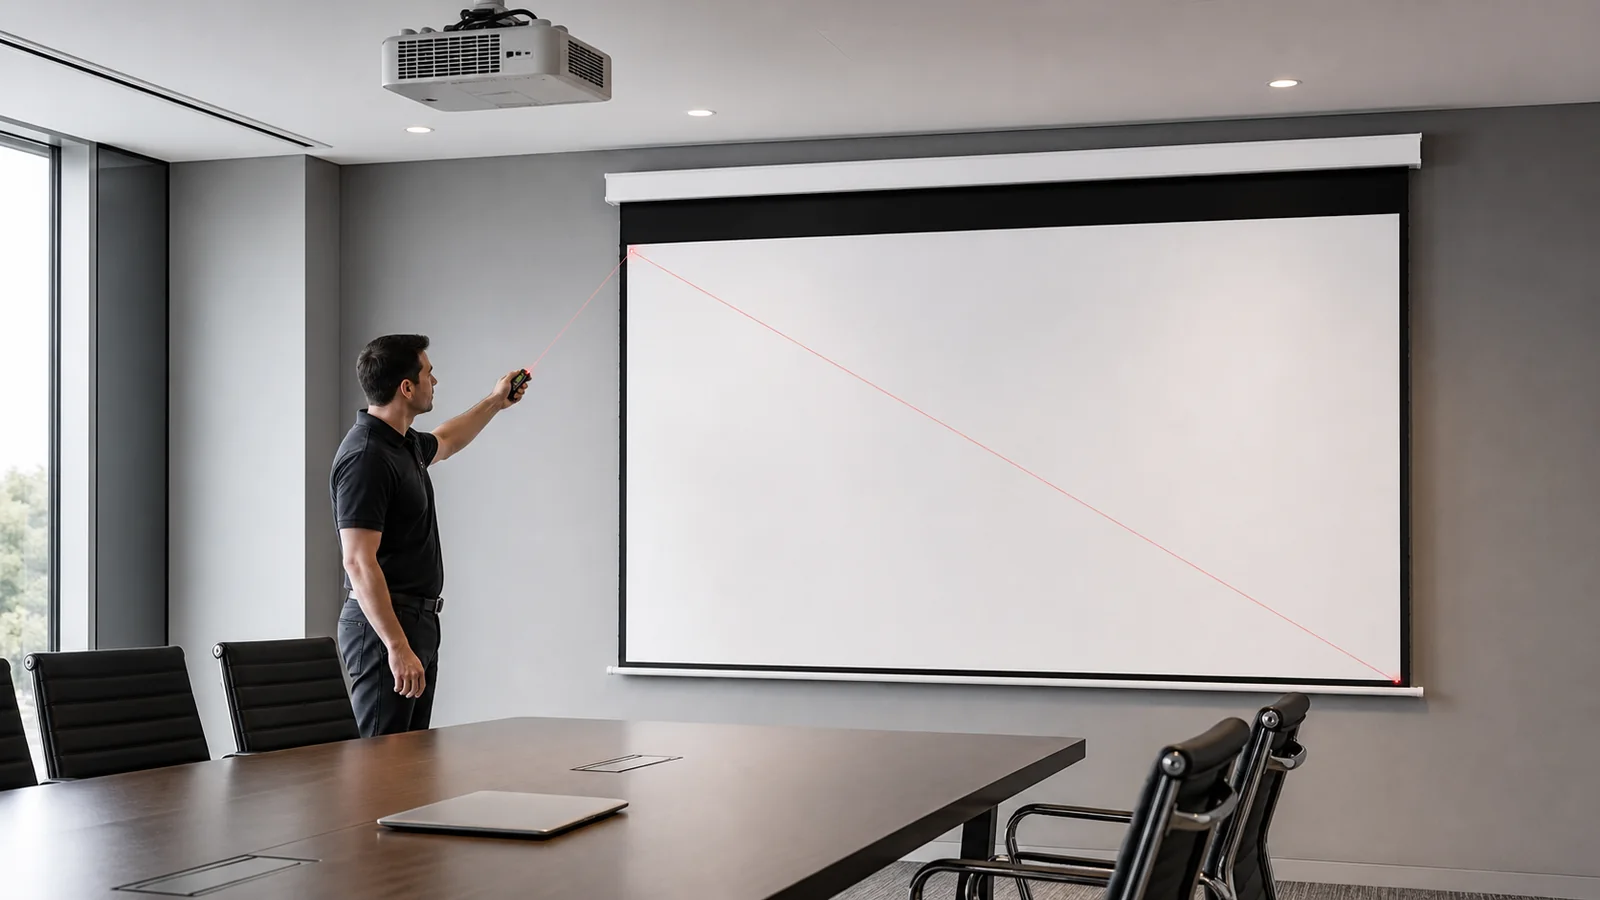
The correct projection screen size starts with the content and room—not a diagonal number from a catalog. First choose the native aspect ratio for the main content, then calculate the visible image width and height. Check viewing distance, sightlines, projector throw and brightness, ceiling height, speaker or furniture conflicts, and the screen’s overall housing or frame dimensions.
For most video and home-cinema applications, 16:9 is the common starting point. Many business and education systems use 16:10, while 4:3 remains relevant for legacy content and selected installations. A custom project may require another format, but the projector, source and screen should be planned as one system.
In This Guide
Screen Size Terms You Must Keep Separate
Quotations and drawings can use several different dimensions. Confirm which one is being discussed.
- Diagonal size: corner-to-corner measurement of the visible image area.
- Viewing width: horizontal dimension of the projected image.
- Viewing height: vertical dimension of the projected image.
- Aspect ratio: relationship between viewing width and viewing height.
- Overall screen size: includes borders, frame, housing, brackets or other structure.
- Black drop: extra black material above the viewing area on selected retractable screens.
- Ceiling opening: required cutout for a recessed housing; it is not the same as viewing width.
A “120-inch screen” does not tell the installer the housing length, bracket spacing or ceiling opening. Always approve a dimensional drawing before construction or production.
Common Projection Screen Aspect Ratios
| Aspect ratio | Typical content | Common applications | Main caution |
|---|---|---|---|
| 16:9 | HD/UHD video, streaming, general video conferencing | Home cinema, commercial display, meeting rooms | Presentation content may use less vertical area |
| 16:10 | Widescreen computer presentations | Corporate, education, training | Confirm projector and source output |
| 4:3 | Legacy presentations and video systems | Existing education or institutional systems | Less suitable for modern widescreen video |
| 1:1 | Flexible legacy presentation area | Selected manual/electric installations | Usually leaves unused area for widescreen content |
| 2.35:1 / 2.40:1 | Cinemascope film | Dedicated cinema | Requires careful projector, masking and content planning |
MGF’s product information lists common 16:9, 16:10, 4:3 and selected 1:1 configurations across different screen families. Availability depends on product type and size; confirm the current model specification before quotation.
How to Calculate Screen Width and Height
For a screen with diagonal D, width W and height H:
W = D × aspect-width / √(aspect-width² + aspect-height²)H = D × aspect-height / √(aspect-width² + aspect-height²)Approximate visible dimensions for common 16:9 screens are:
| Diagonal | Viewing width | Viewing height |
|---|---|---|
| 84 in | 73.2 in / 1.86 m | 41.2 in / 1.05 m |
| 92 in | 80.2 in / 2.04 m | 45.1 in / 1.15 m |
| 100 in | 87.2 in / 2.21 m | 49.0 in / 1.25 m |
| 120 in | 104.6 in / 2.66 m | 58.8 in / 1.49 m |
| 150 in | 130.7 in / 3.32 m | 73.5 in / 1.87 m |
These are mathematical viewing-area approximations, not product overall dimensions. Borders, tensioning tabs, housings and brackets add to the installed size.
A Seven-Step Screen-Sizing Process
Step 1: Identify the Primary Content
List what users will display most often:
- films and streaming video;
- presentations and spreadsheets;
- video conferencing;
- classroom software;
- digital signage or branded content;
- mixed sources.
Select the aspect ratio that minimizes routine unused image area or cropping. Do not choose a screen ratio only because a particular size is in stock.
Step 2: Confirm Projector Image Format and Throw
Record the projector model, native aspect ratio, lens or throw ratio, installation position and planned resolution. The throw ratio determines the relationship between image width and projector distance:
Throw ratio = throw distance ÷ image widthA wider image generally requires either a longer throw distance or a lens capable of the required ratio. Ultra-short-throw projectors have stricter geometry and surface requirements; use a screen material and structure specifically evaluated for that projector type.
Lens shift, zoom and digital correction should not be treated as unlimited solutions. Confirm the projector can create the intended image at the actual mounting location.
Step 3: Check Viewing Distance and Content Detail
The farthest viewer must be able to read the smallest important content, while the nearest viewer should remain comfortable. A cinema audience and a spreadsheet audience do not have the same sizing requirement.
For business and education rooms, test the actual slide template, spreadsheet, captions or user interface. Content legibility can require a larger image than video immersion alone suggests. Industry guidelines and display-image-height methods can be useful, but they should be applied to the specific content and room rather than used as a single universal ratio.
Step 4: Protect Sightlines
Draw the seated eye positions, front-row location and potential obstructions. Check:
- the bottom of the image above tables, lecterns and heads;
- the top of the image below the ceiling and any housing;
- viewing angles from side seats;
- projector beam clearance;
- speaker, camera, lighting and ventilation positions.
Increasing diagonal size increases both width and height. In a low room, screen height can become the limit before wall width does.
Step 5: Match Image Size to Projector Light Output
As image area increases, the available light is spread over a larger surface. Room light, screen gain, projector output, lens position, calibration, image mode and aging all affect perceived brightness.
Do not select a large screen using the projector’s headline lumen value alone. Have the AV designer calculate expected on-screen brightness for the real image size and operating conditions. A screen material cannot compensate for every projector or ambient-light limitation.
Step 6: Choose the Screen Format and Material
The room and workflow determine whether the image should use:
- a fixed-frame screen for a permanent, tensioned surface;
- an electric roll-down screen for frequent retractable use;
- a tab-tensioned electric screen where flatter retractable performance is important;
- a manual screen for simple, occasional use;
- a portable screen for temporary presentation or events.
Browse the MGF projection screen categories to compare formats. Material selection should then consider projector type, ambient light, viewing angle, color behavior, acoustic needs and whether the surface is compatible with the selected mechanism.
Step 7: Verify Overall Dimensions and Installation
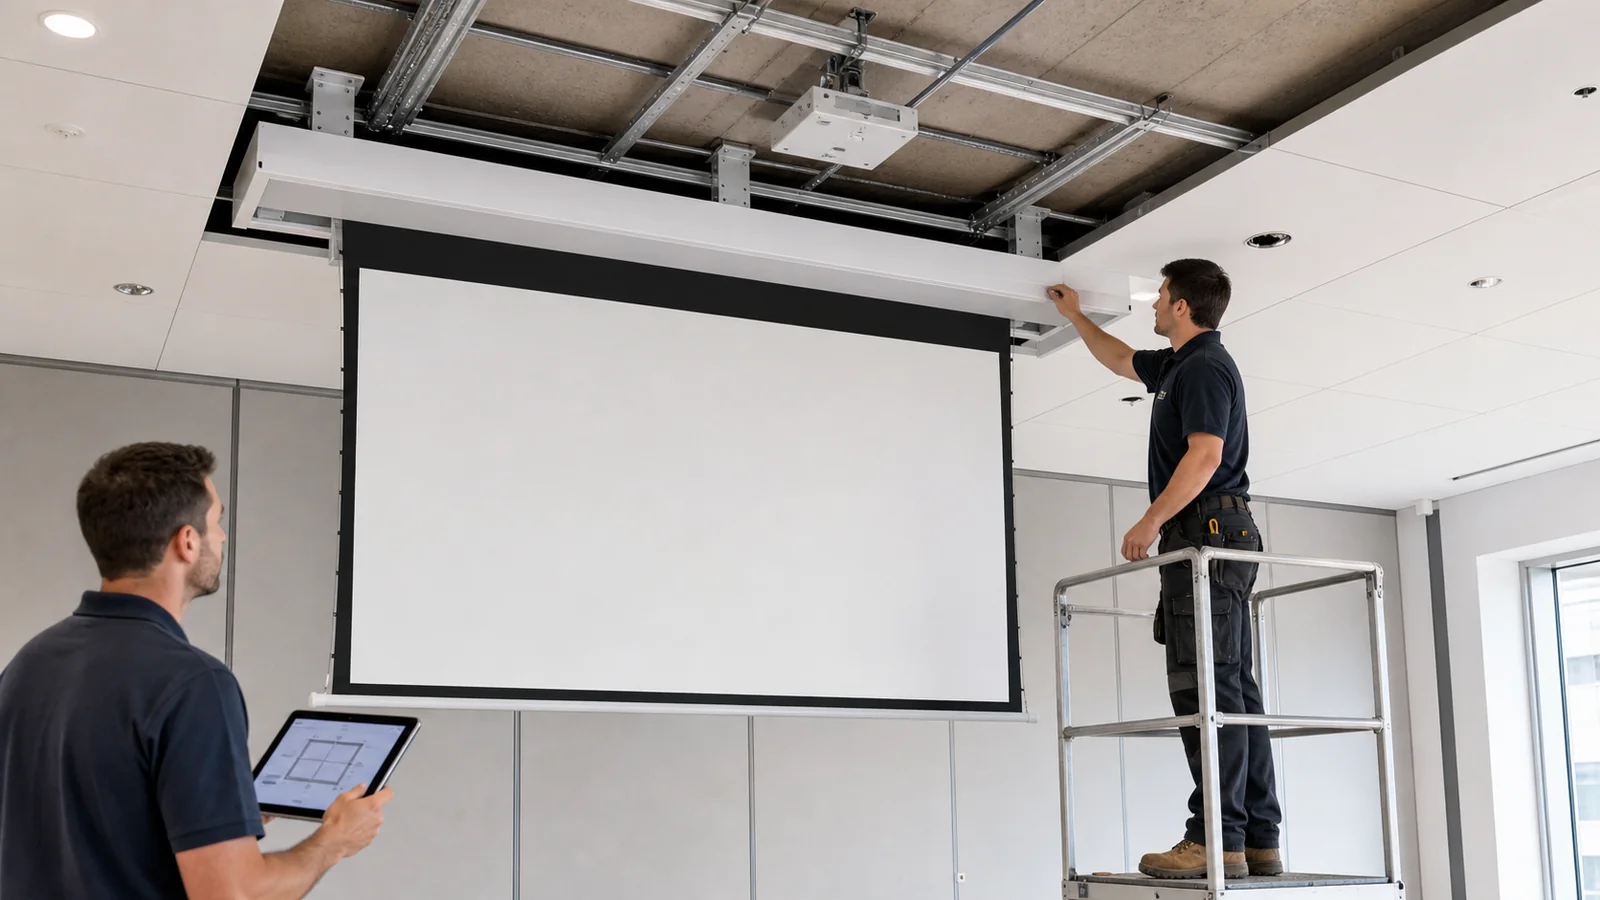
Once viewing size is chosen, request the exact product drawing. Verify:
- overall housing or frame width;
- housing depth and height;
- bracket position and adjustment range;
- power and control entry;
- black drop and bottom-bar position;
- recessed ceiling opening and service access;
- packaged dimensions for site delivery;
- wall, ceiling and structure capacity.
Do this before millwork, ceiling closure or projector mounting. The viewing area should not be the only dimension on the project drawing.
Choosing Aspect Ratio by Application
Conference rooms
Start with the organization’s actual laptops, conferencing platform and presentation templates. 16:9 aligns well with modern video, while 16:10 can provide additional vertical presentation space when supported by the projector and sources. Review the conference room application guide and test readable content at the farthest seat.
Education and training
Legibility and sightlines are critical. Consider the last row, writing surfaces, teacher position and whether the screen must retract to expose a board. The education and classroom application can be paired with manual or electric formats depending on operating frequency and room standard.
Home theater
16:9 is a common versatile format for television and streaming content. Dedicated movie rooms may consider a wider cinema format, but projector lens capability, masking, subtitle position and mixed-content use must be planned. See MGF’s home theater application for relevant screen types.
Commercial display and events
Check source content, audience distance, venue lighting, rigging, transport and setup time. A larger image may improve visibility, but projector brightness and the physical delivery route can become constraints. See the commercial display application.
Example: Sizing a Meeting-Room Screen
Assume a project team is considering a 120-inch 16:9 screen. The approximate visible area is 104.6 × 58.8 inches (2.66 × 1.49 m).
Before approving it, the integrator should still verify:
- whether 1.49 m of image height fits between the ceiling and required bottom sightline;
- whether the projector can create a 2.66 m-wide image from the available throw position;
- whether the farthest viewer can read the smallest critical content;
- whether brightness is sufficient at that image area;
- whether the screen housing, brackets and service clearance fit the ceiling or wall;
- whether 16:9 matches the room’s conferencing and presentation sources.
If any of these checks fail, changing the diagonal alone may not solve the system problem. The projector position, room layout, screen format or content design may also need adjustment.
Common Sizing Mistakes
- Selecting diagonal size before choosing aspect ratio;
- confusing visible width with housing or frame width;
- ignoring the extra space required by tensioning tabs or brackets;
- planning projector throw from overall screen width instead of image width;
- placing the bottom of the image behind furniture or audience heads;
- choosing an oversized image without a brightness calculation;
- assuming all “ALR” materials work with all projector throw types;
- finalizing the ceiling before receiving the screen drawing;
- using a generated room image as evidence of a completed installation.
Information to Send for a Size Recommendation
Provide:
- room length, width and finished ceiling height;
- seating plan and farthest viewing distance;
- primary content and preferred aspect ratio;
- projector model, lens and mounting position;
- ambient-light conditions;
- screen format and installation method;
- required material or acoustic needs;
- wall/ceiling restrictions;
- quantity and destination market.
Screen Size Calculation Example
For a 120-inch 16:9 image, use the visible diagonal and aspect-ratio components rather than the housing dimensions. The calculation gives an approximate viewing width of 104.6 in (2.66 m) and viewing height of 58.8 in (1.49 m). Add the frame, housing, brackets, black drop and service clearance separately on the approved drawing.
Width = 120 × 16 / √(16² + 9²) = 104.6 inHeight = 120 × 9 / √(16² + 9²) = 58.8 inFAQ
Is a 16:9 or 16:10 projection screen better?
Choose 16:9 when widescreen video is the primary content and the projector/source uses that format. Choose 16:10 when business or education presentation content benefits from added vertical image area and the AV system supports it.
Does screen diagonal include the border or housing?
Normally, advertised diagonal refers to the visible image area. Confirm this in the product drawing because overall frame or housing dimensions are larger.
Can I use a 16:9 projector on a 16:10 screen?
Yes, but some screen area may remain unused depending on image scaling and positioning. Decide whether the room regularly uses both formats and whether visible unused surface is acceptable.
How large should a conference-room screen be?
There is no single diagonal for every room. Base the decision on content legibility, farthest viewer, sightlines, ceiling height, projector throw and brightness. Test the actual presentation content when possible.
Should I order the screen before finalizing the projector?
The projector and screen should be designed together. Finalizing either one independently can create throw, brightness, geometry or material-compatibility problems.
After confirming image geometry, review fixed frame screen formats for project review against the wall, installation and application requirements.
Request a Screen Size Recommendation
MGF supports distributors, integrators and project buyers with multiple screen formats, sizes, aspect ratios and material configurations. Send your room drawing, seating distance, projector model, target image size, installation method, material needs, quantity and destination for a configuration review.
Request a Projection Screen Size Recommendation.
---