Projector Brightness, Throw Ratio and Screen Pairing Guide
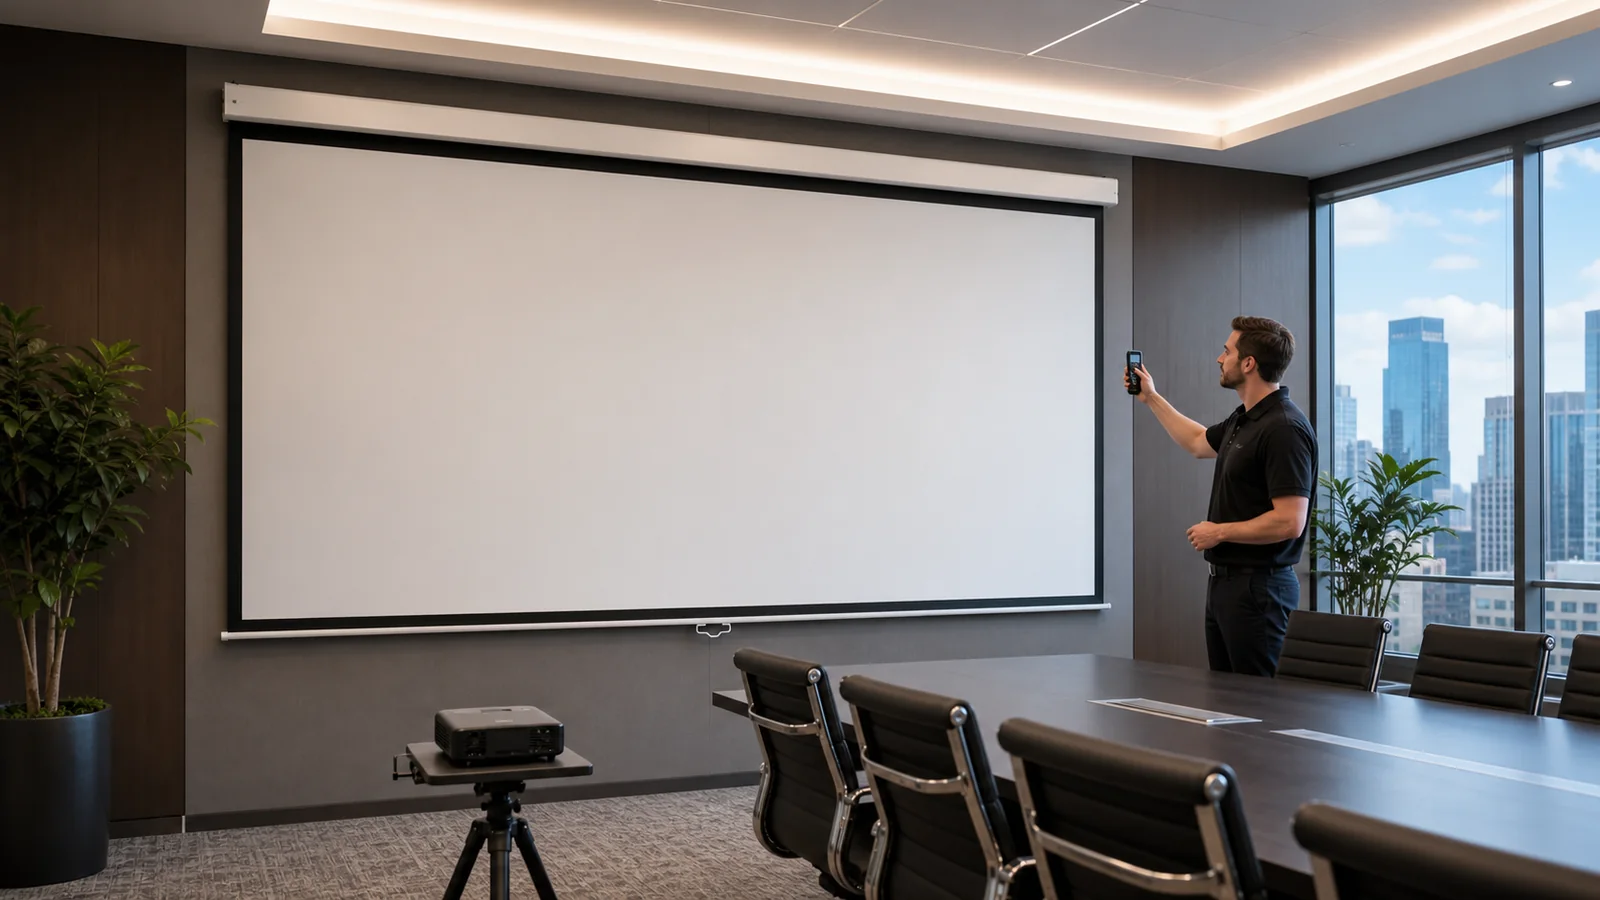
Screens and projectors are often checked against each other too late. Start with the room, seating and required image size, then coordinate the screen and projector as one system. When neither is verified against the other until installation day, the result can be an image that spills off the screen, a projector that cannot reach its mounting position, or a picture that washes out when the room lights are on.
This guide gives the verification sequence: geometry first, brightness second, surface interaction third. It assumes the screen size and format have already been planned with the room method in our size and aspect ratio guide.
In This Guide
The Pairing Sequence at a Glance
| Step | Question | Failure it prevents |
|---|---|---|
| 1. Throw geometry | Can this projector fill this screen from the available position? | Image too large/small, impossible mounting |
| 2. Lens shift and offset | Does the image land on the screen without distortion tricks? | Keystone abuse, tilted installs |
| 3. Brightness vs area and light | Is the image bright enough in real room conditions? | Washed-out image in use |
| 4. Surface interaction | Does the screen surface suit this projector's geometry? | Hotspotting, UST artifacts |
| 5. Signal and control | Do resolution, aspect and control integrate? | Letterboxing, orphaned automation |
Step 1: Throw Ratio and Distance
Throw ratio is the projector's defining geometric spec:
Throw ratio = throw distance ÷ image width
A projector with a 1.5:1 throw ratio needs 1.5 m of distance for every 1 m of image width. The working check is the reverse:
Required distance = throw ratio × image width
Run it against the real room:
- take the visible image width of the planned screen;
- multiply by the projector's throw ratio range (zoom lenses give a min–max span);
- check whether that distance exists between the screen plane and a viable mounting position—accounting for obstructions, ceiling features and the projector's own length.
Marketing labels such as standard throw, short throw and ultra short throw are useful for orientation, but their boundaries are not consistent across every manufacturer. Always verify the exact projector model's published throw-ratio range, projection-distance table and lens data rather than designing from the category label.
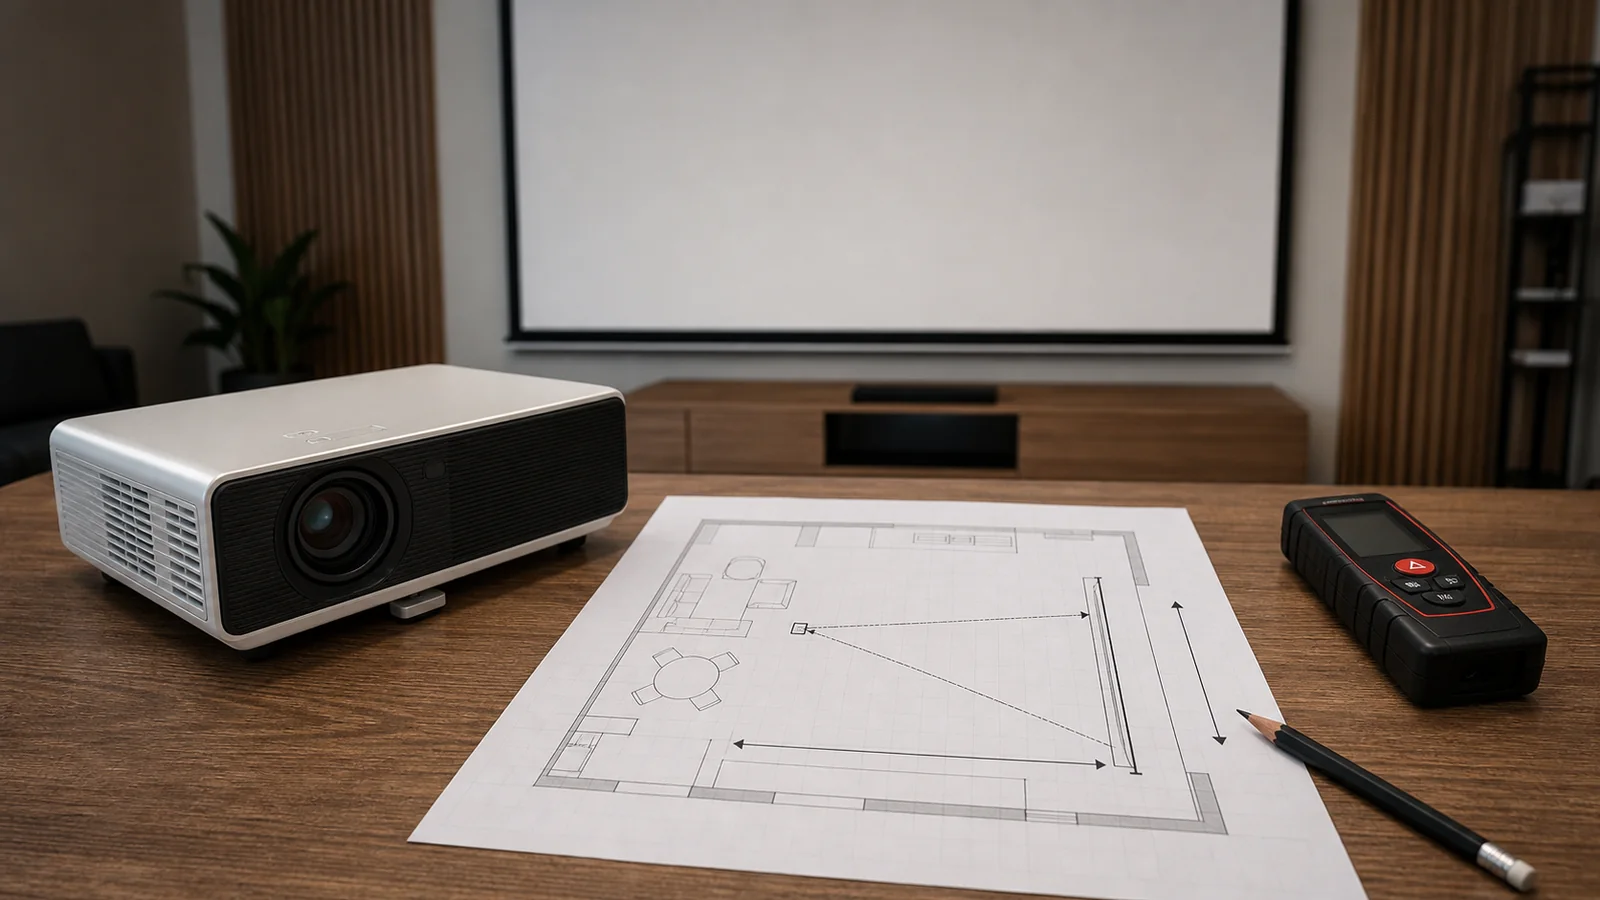
Step 2: Lens Shift, Offset and the Keystone Trap
Filling the screen is not enough—the image must land on it squarely from where the projector can actually mount.
- Vertical offset determines how far above or below lens height the image sits. Fixed-offset projectors dictate mounting height more than buyers expect.
- Lens shift moves the image optically without distortion; its range decides how much mounting flexibility you really have.
- Keystone correction distorts the signal digitally to compensate for a tilted projector. It reduces effective resolution and sharpness—acceptable in a pinch for portable use, but a design failure in a fixed installation. If the plan relies on keystone from day one, the geometry is wrong; fix the mounting, not the signal.
For fixed installations, resolve mounting position, offset and shift on paper before either the screen or the projector is ordered—this is the same coordination discipline as our in-ceiling installation checklist.
Step 3: Brightness Against Screen Area and Room Light
Projector brightness is quoted in lumens; what viewers experience is luminance spread across the screen's area under the room's ambient light. Three relationships govern it:
- Area scales quadratically. Stepping from a 100″ to a 150″ diagonal more than doubles the image area, so the same projector delivers less than half the brightness per unit of surface.
- Ambient light competes directly. Light falling on the screen adds to the black level, crushing contrast long before the image looks "dim." A projector that impresses in a dark demo room can fail in the same room with daylight.
- The surface participates. Gain redistributes brightness toward or away from seats, and grey or ALR surfaces trade raw brightness for contrast—the interactions explained in our gain and viewing angle guide.
The practical method, in order of reliability:
- define the worst realistic lighting condition the room will actually be used in—not the best;
- use the projector vendor's throw-distance calculator for geometry, then follow its brightness guidance or an agreed project luminance/illuminance target for the real room condition;
- insist on a demo at real size and real light for stakes that justify it—large venues, flagship rooms, tenders;
- treat brightness headroom as maintenance budget: lamp and laser sources decline over service life, so an installation sized exactly to day-one output is underspecified.
Where ambient light cannot be controlled and brightness alone cannot win, change the strategy rather than the wattage: light management, an ALR-direction surface, or a smaller, denser image.
Step 4: Surface and Structure Interaction
Two pairings deserve special care:
- Ultra short throw + screen surface. UST light arrives at extreme angles. It demands surfaces specified for UST and punishes any surface unevenness—waves that are invisible with a standard-throw projector become geometry errors with UST, as covered in our screen waves guide. For retractable UST setups, tab-tension models are the relevant direction; for permanent rooms, fixed frame screens remove the variable entirely.
- Directional surfaces + viewing geometry. A high-gain or otherwise directional surface can make non-uniformity and hotspotting more visible when projector position, screen size and seating geometry are poorly matched. Do not choose surface gain only to compensate for a projector-screen mismatch.
Confirm material-projector compatibility with the factory at quotation—state the projector type (standard, short-throw, UST) in the screen inquiry so incompatible surfaces are flagged before ordering. MGF's electric, tab-tension and fixed-frame ranges cover the structural options; surface availability per model is confirmed at the quotation stage.
Step 5: Signal, Aspect and Control
Close the loop with three quick checks:
- aspect ratio: projector native format should match the screen format chosen in planning—mismatches waste screen area as black bars;
- resolution and content: the projector's native resolution should serve the actual content (data, video, cinema), not the marketing sheet;
- control: if the screen is motorized, decide now whether the projector's 12V trigger, a control system or a wall switch will drive it, per our control and integration guide—this is the cheapest moment to route the cable.
Common Pairing Mistakes
- Choosing either product in isolation and forcing the other to compensate;
- relying on keystone correction in a fixed installation;
- sizing brightness for the demo-room condition instead of the worst working condition;
- ignoring the quadratic cost of "just going a size up" on the screen;
- pairing UST projectors with unspecified or non-tensioned surfaces;
- leaving trigger/control wiring undecided until after the ceiling closes;
- skipping the real-size, real-light demo on projects that could easily justify one.
FAQ
How many lumens do I need for my screen size?
There is no honest single number: the requirement depends on screen area, ambient light, surface behavior and content type. Define the worst realistic lighting condition, then use the projector vendor's calculator for your screen size—and demo at real size for high-stakes rooms.
What does a throw ratio of 1.5:1 mean?
The projector needs 1.5 units of distance for every 1 unit of image width: a 2 m-wide image requires 3 m of throw distance. Multiply the ratio by your screen's visible width to check the required distance against the real room.
Can I just use keystone correction if the projector is off-angle?
For a portable, temporary setup—acceptable. In a fixed installation, keystone digitally distorts and softens the image to hide a mounting problem; fix the geometry with position and lens shift instead.
Do I need a special screen for an ultra short throw projector?
Yes—UST light arrives at extreme angles and requires surfaces specified for UST use, on a flat mounting. Unspecified or wavy surfaces produce visible geometry and brightness artifacts with UST.
Should I choose the screen or the projector first?
Room requirements first: define seating, target image size, ambient light and mounting constraints, then select the screen and projector together. If one product is already fixed, verify that the other can meet the geometry and brightness requirements before ordering.
Verify Your Pairing Before You Order
Send MGF your planned screen size, the projector model or type under consideration, the mounting situation and the room's lighting reality. The factory will confirm suitable screen structures and surface directions for that pairing at the quotation stage.
Contact MGF Screens to check your projector-screen pairing.
---