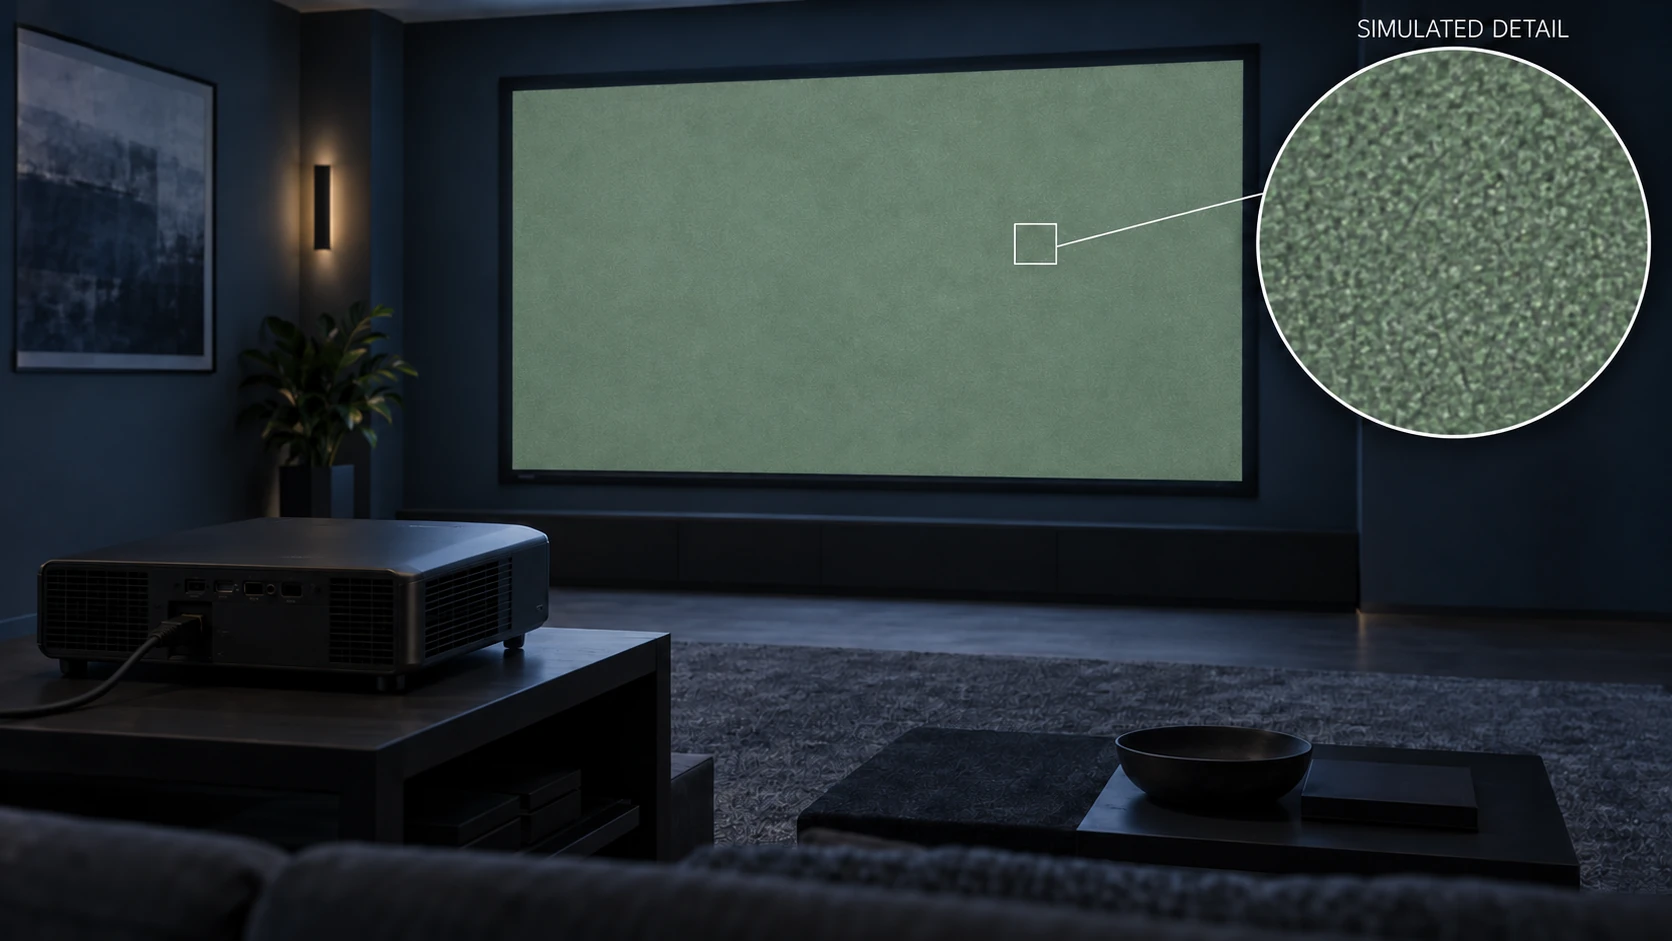
Describe What You See Before Replacing the Screen
Laser speckle is associated with interference from coherent light and can appear as a fine pattern of lighter and darker points. Barco explains the relationship between coherence and speckle in its laser illumination white paper, section 5.1. Use that source for the optical background, not its historical market forecasts or any MGF product rating.
A customer's description of “sparkle,” “grain,” “hotspot” or “texture” is an observation to investigate. It does not establish that all four have the same cause. Record where the effect appears, which content reveals it, whether it is visible to the eye and whether it changes with viewing position. Avoid diagnosing a screen defect from one camera image.
Scroll horizontally to compare all columns on smaller screens.
| Reported appearance | Useful information to record |
|---|---|
| Fine granular or sparkling pattern | Projector model, surface code, content, viewing distance and whether viewers see it directly |
| Broad bright area or uneven appearance | Position within the image, lens/screen geometry and center/side-seat observations |
| Visible surface texture | Distance, focus, material identity and appearance with projection on and off |
| Pattern mainly in a photograph | Camera lens, exposure, focus, image processing and whether it is also visible to observers |
These are reporting categories, not a diagnostic test that assigns a cause automatically.
Record the Projector, Lens and Image Settings
Identify the exact projector and lens, firmware, light-source mode, signal resolution, image mode, sharpness and any dynamic image processing. Record image dimensions, lens-to-screen distance, lens shift, geometric correction and screen orientation. For UST, include the projector's position relative to the screen and use its model-specific installation instructions.
Check the projector manufacturer's guidance before changing settings. If a setting is evaluated, document the original and changed values so the observations can be compared. Do not assume all laser projectors use the same illumination design or that a single setting has the same effect across models.
Elite Screens' triple-laser FAQ discusses interactions between some projectors and directional screen surfaces. It is manufacturer context; its material recommendations and product conclusions are not evidence that an MGF material will produce the same result.
Compare Material Samples Under Matched Conditions
Start with the material sample evaluation checklist. Confirm the proposed materials are appropriate candidates for the projector geometry before comparing their appearance.
- Label each sample with its material code, side, orientation and available batch reference.
- Use the same projector, content and image settings. Keep the sample position and viewing positions documented.
- Record room lights, window conditions and the time of the observation. Repeat comparisons when conditions change enough to invalidate them.
- Observe from the intended center and side seats. Record what each observer sees before reviewing photographs.
- Note other trade-offs such as readable detail, apparent brightness variation and viewing-position sensitivity. Do not select on one appearance alone.
- Record the candidate, reasons for the choice and any unresolved question that needs a complete-screen trial.
Do not put a directional sample in an arbitrary orientation or compare it at an unrelated projector angle. A difference between samples is specific to the recorded setup; it is not automatically a result for every size, screen mechanism or laser projector.
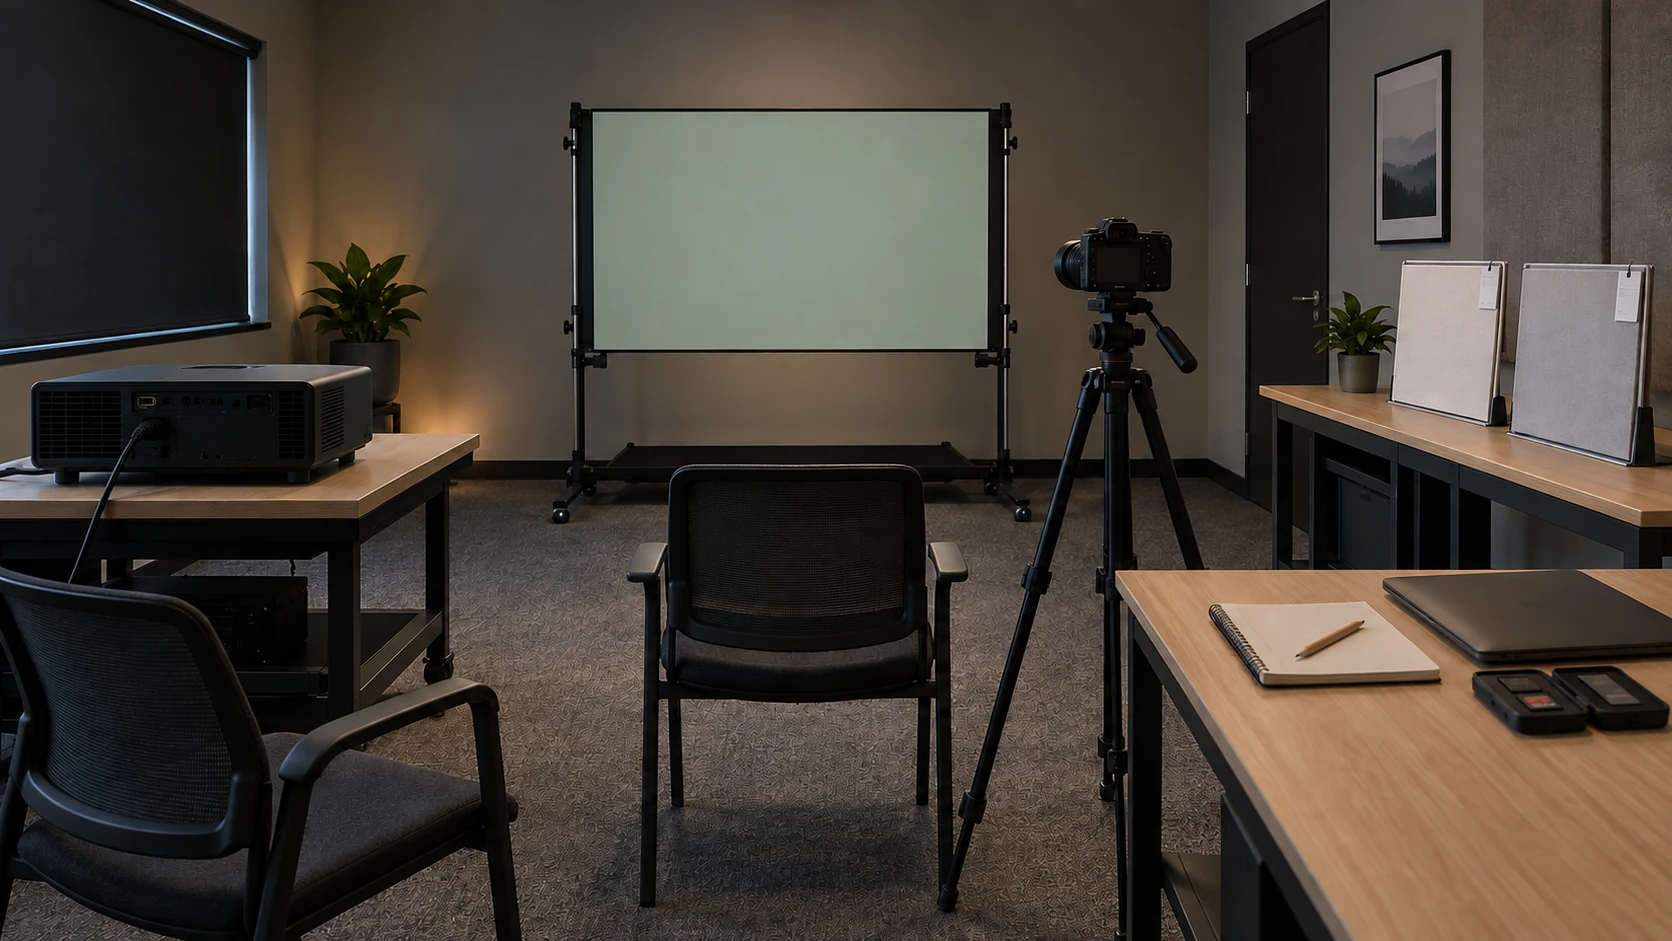
Keep Viewing Observations Separate from Camera Images
Photographs help document the arrangement and reported appearance, but the camera is another optical system. Keep the camera, lens, tripod position, exposure, focus and white balance recorded. Preserve originals and disclose any processing. Compare corresponding images under matched settings; do not retouch away a pattern or enhance only one candidate.
Store observer notes separately from the photo record. If the effect appears only in the image, record that difference and review the capture conditions. Do not calculate a material's speckle-reduction percentage from an ordinary JPEG or present a camera comparison as an absolute optical measurement.
Check the Full Screen Before Final Approval
A small sample cannot demonstrate the completed screen's deployed shape, seams, mounting, image coverage or all viewing positions. Confirm the selected material code, actual screen construction, image size and orientation, then repeat the agreed checks on the complete installation.
For retractable products, follow the applicable deployment and inspection procedure. Do not assume that side tension alone resolves an optical effect. Review short-throw and standard-throw pairing and the ALR/CLR/UST distinctions where they affect the configuration.
What the Record Does Not Prove
A single sample or installation does not establish a universal “speckle-free” claim, identify the cause of every visible artifact or approve all projector combinations. Keep model-specific observations, engineering conclusions and limitations together. If a proposed material change has not been tested, describe it as a candidate for review rather than a proven cure.
This guide describes an evaluation workflow. It does not publish MGF comparative test results or certify a material's performance with an untested projector.
Send the Details for a Material Review
Provide the projector/lens, screen or sample code, image size, geometry, seating positions, room-light description, original photos and what viewers observed. Identify the intended screen format and destination. Use the MGF material range to discuss available candidates; suitability remains specific to the proposed configuration.
Questions About This Review
Does visible sparkle prove that the screen is defective?
No. Record the projector, surface, content, viewing conditions and whether the effect is seen directly or only in a camera image. A description alone does not establish a cause.
Will changing to matte white always remove laser speckle?
A different material may be a candidate for evaluation, but no universal result is established here. Compare suitable samples with the exact projector and confirm the complete screen.
Can I use photos to publish a speckle-reduction percentage?
Ordinary comparison photographs do not establish that measurement. Keep camera settings and observer notes, and obtain an approved measurement method before publishing quantitative claims.
Does a successful sample test approve a full screen?
No. Confirm the actual material and complete screen configuration, then check the installation and intended viewing positions before final approval.