Classroom Projection Screen Buying Guide for Schools
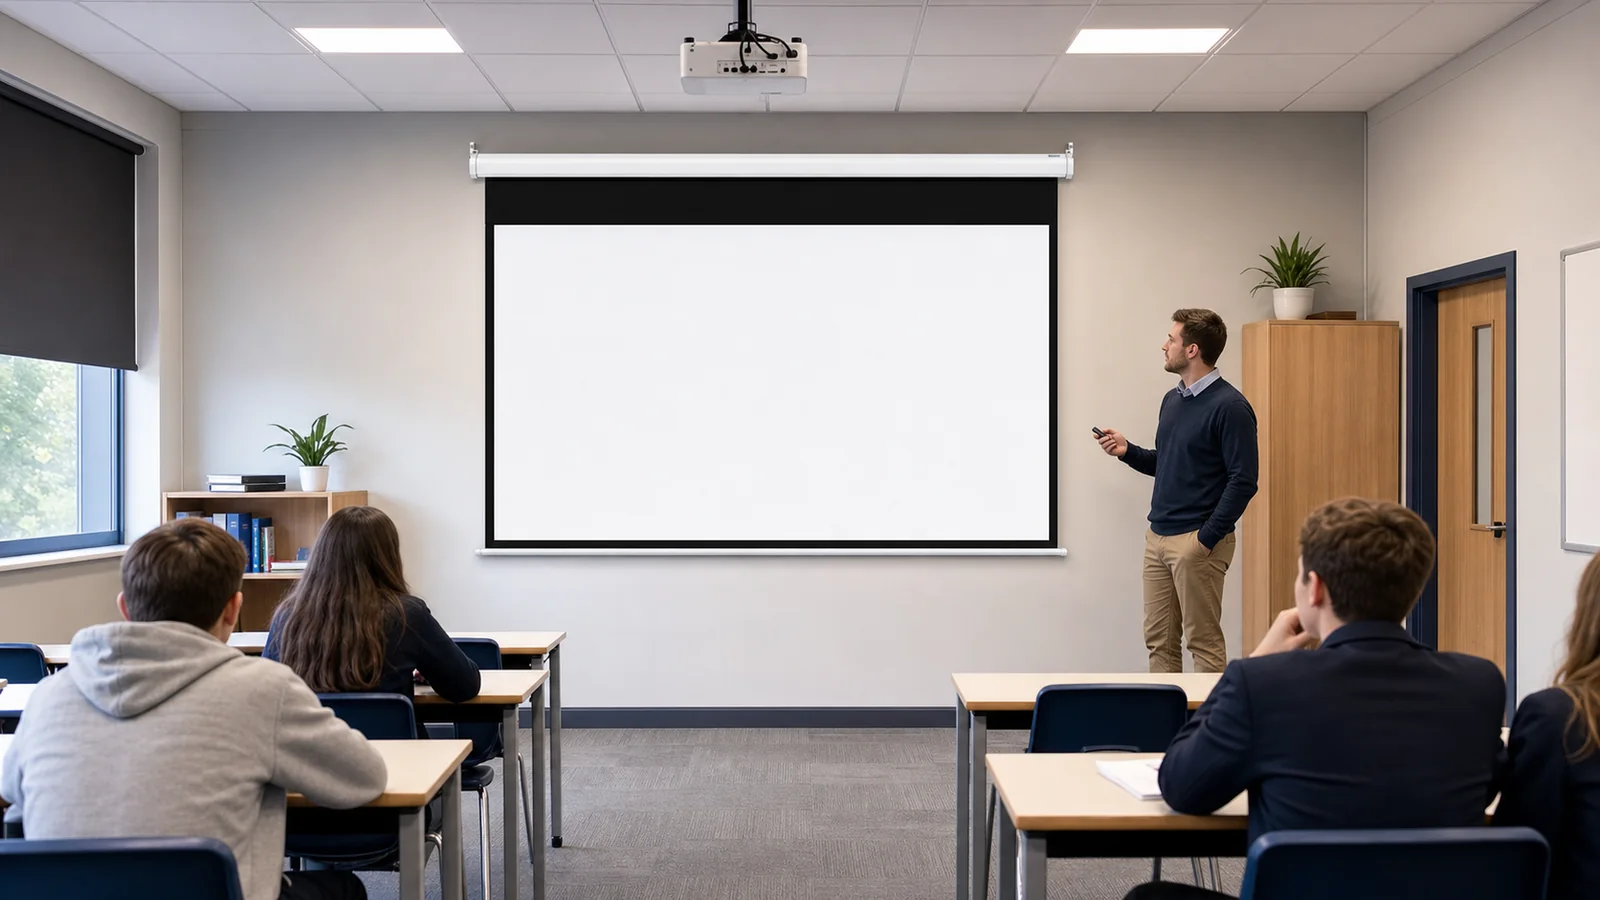
A classroom projection screen should make teaching content readable, operate safely and predictably, fit the wall or ceiling, and remain manageable across many rooms. Manual pull-down screens are often suitable for budget-sensitive or occasionally used classrooms. Electric screens are usually stronger candidates for frequent use, high mounting positions and standardized AV control. Fixed-frame screens fit rooms where the display surface can remain permanently visible.
For a school rollout, do not select every screen from one diagonal-size list. Classify rooms by teaching use, seating, projector, installation and operator needs, then standardize a small number of approved configurations.
In This Guide
Who This Guide Is For
- education AV integrators;
- school procurement and facilities teams;
- contractors delivering classroom upgrades;
- distributors quoting multi-room projects;
- universities, training centers and institutions.
MGF’s education and classroom application page provides an overview of relevant screen formats.
Classroom Screen Options Compared
| Screen type | Best fit | Main advantage | Main planning issue |
|---|---|---|---|
| Manual self-lock | Standard classrooms, occasional use | No power and lower system complexity | Must be reachable and operated correctly |
| Standard electric | Frequently used classrooms | Consistent operation | Requires power, control and service access |
| In-ceiling electric | New-build or design-sensitive rooms | Concealed housing | Early ceiling coordination required |
| Fixed frame | Dedicated teaching or visualization room | Permanently tensioned surface | Wall remains occupied |
| Portable pull-up | Shared or temporary room | No permanent installation | Smaller practical format and storage needed |
Step 1: Classify the Rooms Before Buying
Create a room schedule rather than one generic specification. Useful groups include:
- small standard classrooms;
- large lecture or training rooms;
- computer and STEM rooms with detailed content;
- multipurpose rooms;
- rooms with writing boards behind the screen;
- temporary or shared teaching spaces;
- accessibility or high-mounting exceptions.
For each group, record seating, ceiling height, content, projector, mounting surface, operating frequency and available power. Standardize within groups while preserving documented exceptions.
Step 2: Size for Readability, Not Only Video
Students may need to read formulas, diagrams, code, maps and interface text. Test real teaching content from the farthest seat. The bottom of the image must remain visible above desks, equipment and students in front rows.
Confirm:
- visible image width and height;
- 16:9, 16:10 or legacy aspect ratio;
- farthest and nearest viewer;
- lowest acceptable image position;
- projector throw and brightness;
- overall housing or frame dimensions.
Use the projection screen size and aspect ratio guide after it is published for the calculation workflow.
Step 3: Choose Manual, Electric or Fixed
Manual screens
A manual self-lock screen avoids electrical installation and can provide a practical standard for smaller classrooms. Users pull the screen down and lock it at the required position, then release it according to the operating instructions.
MGF’s manual projection screen range includes several housing formats. The classic manual self-lock projection screen is listed for wall or ceiling installation, with common 1:1, 4:3 and 16:9 configurations in the supplied product matrix. Current size and material availability should be confirmed by model.
Manual screens work best when the pull point is safely reachable. If a screen must be mounted very high, daily operation may be inconvenient.
Electric screens
An electric screen can simplify daily use and high installations. It may be controlled locally or integrated into a broader room workflow, depending on the selected configuration.
The electric projection screen category includes standard, surface-mounted and concealed formats. MGF’s source product matrix positions standard and hexagonal electric models for education, training and meeting applications.
Electric screens require power, an agreed control method and future service access. Do not conceal the housing or controller without a maintenance plan.
Fixed-frame screens
A fixed-frame screen provides permanent perimeter tension and avoids moving mechanisms. It can suit dedicated rooms where the projection wall is not needed for writing, displays or other activities. Protect it from contact in spaces where students work close to the front wall.
Step 4: Match the Material to the Teaching Environment
The supplied MGF product table lists white PVC 1000D and white fiberglass among common options for standard manual and electric screens, plus selected grey surfaces. Final selection should be made from the projector, ambient light, viewing angle and content.
For typical classrooms:
- control direct light falling on the screen where possible;
- verify that side seats retain usable brightness and color;
- avoid surface texture that interferes with small text;
- calculate brightness at the final image size;
- confirm compatibility with the projector throw type;
- use samples for high-volume projects when material choice is uncertain.
An “ALR” surface is not a replacement for lighting design, and not every directional material suits every classroom layout.
Step 5: Plan Safe, Serviceable Installation
The installer should verify the mounting structure, not attach the product only to decorative ceiling elements. Coordinate the screen with the projector, speakers, cameras, lighting, HVAC and writing boards.
Check:
- wall or structural ceiling capacity;
- bracket type and spacing;
- screen centerline and final bottom position;
- clear path for the bottom bar;
- reachable manual pull point;
- protected electrical supply for motorized screens;
- controls located where staff can use them;
- access for motor, limits and controller service;
- no sharp objects or furniture contacting the surface.
Use a model-specific drawing. Screens with the same image diagonal may have different housing lengths and bracket positions.
Step 6: Design for Everyday Operation
Classroom equipment succeeds when teachers can use it without a technical support call. Define a simple procedure and train users during handover.
For manual screens:
- demonstrate the correct pull, lock and release motion;
- avoid releasing the screen uncontrolled;
- keep the pull ring accessible;
- do not add weight to the bottom bar.
For electric screens:
- label the wall control clearly;
- define the remote-storage location if used;
- prevent routine users from changing limit settings;
- provide a fallback process for controller issues;
- keep the deployment area clear.
Some MGF manual models list an optional SRC slow-retraction control in the supplied product information. Confirm availability and operating behavior for the exact model rather than assuming it is standard.

Step 7: Standardize the Procurement Specification
For a multi-room rollout, create an approved schedule with one row per room and fields for:
- room ID and type;
- visible size and aspect ratio;
- screen product and material;
- housing color and installation;
- manual mechanism or motor/control configuration;
- projector model and throw position;
- bracket and accessory kit;
- power and local compliance requirements;
- labeling, manual and spare-parts needs;
- packaging destination and room allocation.
The purchase order, approved sample and room schedule should use the same product revision. If a component or specification changes, record which rooms are affected.
Step 8: Inspect Samples and Deliveries
For a larger rollout, inspect a representative sample before full production or installation. Check the complete configuration:
- viewing-area dimensions and squareness;
- housing finish and end caps;
- mounting hardware;
- deployment and retraction;
- stop positions or manual locking;
- surface condition;
- controls and accessories;
- labels and instructions;
- carton and internal protection.
At delivery, record transit damage before moving products to rooms. Long housings need appropriate handling and storage so they are not bent or placed under other materials.
Recommended Configurations by Education Space
| Education space | Configuration to evaluate | Selection priority |
|---|---|---|
| Standard classroom | Manual self-lock or standard electric | Cost, reachability and frequency of use |
| Multimedia classroom | Standard or hexagonal electric | Repeatable operation and fixed installation |
| Lecture/training room | Electric or tab-tensioned electric | Larger image, frequent use and surface needs |
| Dedicated visualization room | Fixed frame | Permanent tension and detailed content |
| Mobile training | Floor pull-up or portable screen | Transport and no permanent mounting |
The right answer can vary within the same campus. A standard classroom and a lecture hall should not automatically receive the same screen.
Total-Cost Factors for Schools
Compare:
- screen and accessory cost;
- structural and electrical work;
- installation labor;
- controller or remote management;
- user training;
- maintenance access;
- spare parts and replacement consistency;
- packaging, room allocation and site handling.
A manual screen may have a lower initial cost, but an electric screen may be operationally preferable in a high or frequently used position. Base the decision on room lifecycle rather than unit price alone.
Common Procurement Mistakes
- Ordering every classroom from one diagonal-size assumption;
- ignoring readable content at the last row;
- mounting manual screens beyond safe reach;
- covering the writing board without planning retraction;
- forgetting power and access for motorized screens;
- accepting a material label without projector testing;
- using overall housing width as the image width;
- changing models mid-rollout without revision control;
- treating generated classroom scenes as completed project evidence.
Classroom Procurement Specification Template
Copy this field set into the school’s RFQ or room schedule. Keep one row per room so the quantity roll-up can be checked against the drawings and purchase order.
| Room / zone | Quantity | Image size / ratio | Screen format | Projector / throw | Mounting / power | Material | Control |
|---|---|---|---|---|---|---|---|
| Room ID: ______ | ____ | ____ / ____ | manual / electric / fixed | model: ____ / throw: ____ | wall / ceiling / recessed; power: ____ | ____ | pull / switch / remote / AV |
| Room ID: ______ | ____ | ____ / ____ | manual / electric / fixed | model: ____ / throw: ____ | wall / ceiling / recessed; power: ____ | ____ | pull / switch / remote / AV |
Quantity roll-up and acceptance checklist
- count rooms by approved configuration, size, ratio, material and control;
- reconcile the quantity roll-up with the room schedule, reflected ceiling plan and purchase order;
- confirm each supplied screen has the approved model, visible image size, overall dimensions and installation method;
- check operation, image flatness, bottom-bar position, labels, accessories, damage and documentation at handover.
FAQ
Is a manual or electric screen better for a classroom?
Manual screens suit simple, budget-sensitive rooms where the pull point is reachable. Electric screens suit frequent use, higher mounting positions and standardized AV operation. Room conditions should decide.
What aspect ratio should a school choose?
16:9 fits widescreen video and many modern systems. 16:10 can provide more vertical presentation area. Retain 4:3 only where legacy content or equipment requires it. Confirm the projector and teaching sources.
How high should a classroom screen be mounted?
The image should clear front-row obstructions while remaining comfortable for viewers. Manual controls must also be reachable. Use the seating plan, ceiling height and product drawing to establish the exact position.
Can one screen material work in every classroom?
Not necessarily. Room light, projector, size, seating width and throw type vary. Standardization is useful, but test exceptions rather than forcing one material into unsuitable rooms.
What should be included in a school screen quotation?
Include visible size, aspect ratio, material, housing, installation, mechanism or motor, controls, brackets, accessories, packaging, quantity, destination and current compliance documentation.
Request a Classroom Screen Recommendation
MGF supports school, training and education projects with manual, electric, fixed-frame and portable screen formats. Send the room schedule, projector model, visible image size, aspect ratio, installation, operating frequency, material, quantity and destination.
Contact MGF Screens for an education project quotation.
---