Outdoor Projection Screen Guide: Size, Material and Wind Safety
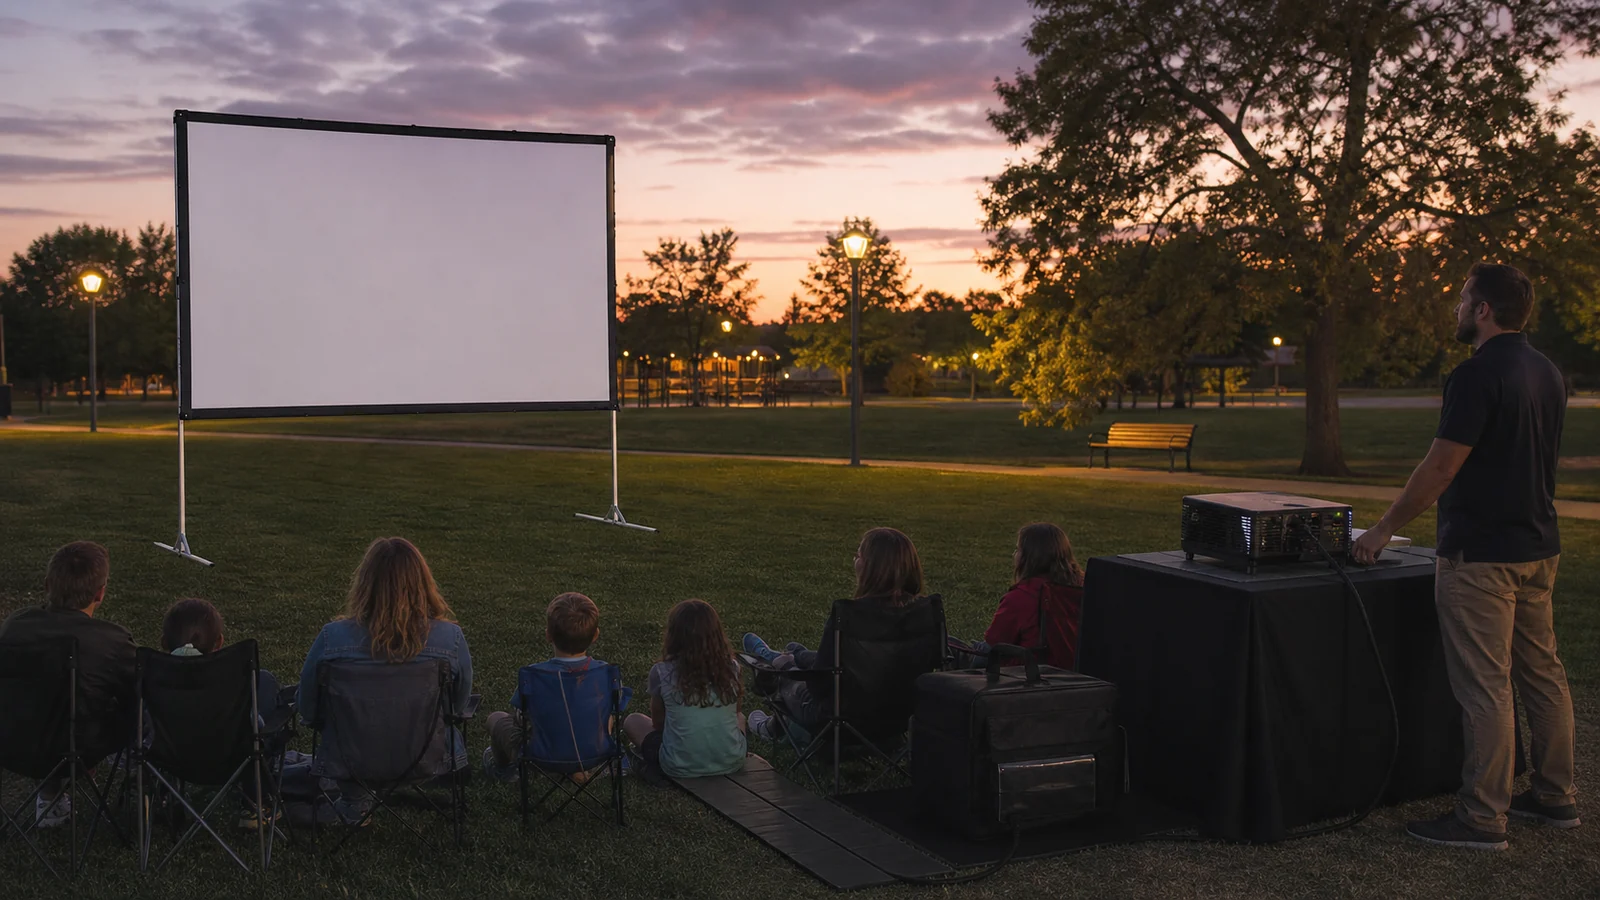
For event organizers, rental teams and community venues, outdoor projection is a complete temporary event system. Plan the audience, content, event time, transport, setup crew and site conditions together. Screen size and material are selected within that plan, alongside the projector, public circulation and weather responsibilities.
This guide supports selection and coordination. It does not replace the product instructions, venue rules or a site-specific safety plan.
In This Guide
Choose the Outdoor Format
- Event procurement: start with the Portable Outdoor Screen when its available image sizes fit the brief. Send the number of uses, showing time, front/rear projection choice and audience layout.
- Rental and repeated setups: compare the Portable Folding Screen. Confirm the crew, case route, storage space and complete frame/surface package for each event size.
- Community screenings: mark audience boundaries, presenter space and public routes before choosing either format. Use the event planning page to organize the site brief and responsibilities.
| Use case | Practical screen direction | Main advantage | Main risk |
|---|---|---|---|
| Backyard or small community movie | Portable outdoor frame | Simple transport and setup | Ground condition and wind |
| Repeated professional events | Fast-fold / portable folding | Robust transport workflow and larger formats | Crew, ballast and case logistics |
| Covered temporary presentation | Floor pull-up or smaller portable screen | Fast deployment | Limited size and circulation |
| Outdoor stage | Engineered event screen system | Integrates with production plan | Structural engineering and weather limits |
Confirm the Supplied Package and Instructions
- Portable Outdoor: the current product page lists 100- and 120-inch 16:9 freestanding formats and shows a carry bag, stakes and ropes. Request the actual packing list, bag/box count, packed dimensions and weight, plus the model's assembly and permitted fixing instructions. Displayed accessories are not a confirmed bill of materials or a site anchoring design.
- Portable Folding: the current page describes a folding hinge structure, quick-fix buttons and a flight case. Request the matched frame/surface specification, attachment and packing sequence, final case count and handling requirements. Confirm whether the proposed outdoor use is covered by the supplied instructions.
Both product pages provide document-request routes. Obtain the current model/manual revision and agreed stop/removal procedure. Do not approve exposure or fixing arrangements outside those instructions and the venue plan; neither a product name nor an accessory image supplies a wind rating.
Size From Audience and Content
Estimate the farthest viewer, audience width and smallest content. Films tolerate smaller detail than sponsor slides or captions. Keep the bottom image above heads without creating an uncomfortable viewing angle.
Confirm overall frame size and support footprint, not only visible image. Leave circulation around ropes, feet, cases, projector and protected cable routes.
Plan for Darkness and Projector Geometry
Plan projection around the actual event time and the light reaching the screen. A surface label or projector lumen figure alone cannot establish that an outdoor image will be readable. Test the intended content at the planned image size and viewing positions before approving the schedule.
Scroll horizontally to compare all columns on smaller screens.
| Planning question | What to check on site | Decision if the result is unsuitable |
|---|---|---|
| Must the event run in daylight? | Direct sun, reflected light and light reaching the image at that time | Move the showing later, assess an approved shaded location or compare another display approach |
| Is a shaded or covered location available? | Screen illumination, projector protection, audience access and venue restrictions | Review the whole layout; shading alone does not approve outdoor equipment or supports |
| Will the event run after dark? | Actual twilight, nearby lighting, image content and farthest seats | Conduct a representative trial; adjust image size, light control or the schedule |
| Is rear projection proposed? | Lens distance plus projector body, ventilation, cables and protected access | Use the rear-projection layout guide before allocating backstage space |
Record the date, time, weather/light conditions, projector and lens, surface code, image size, seating positions and observed readability. This creates a project decision record; it is not a general daylight-brightness guarantee. Verify optical distance using the projector pairing guide and keep equipment outside public circulation.
Front or Rear Projection
Front projection uses less depth behind the screen but requires a clear beam path. Rear projection keeps equipment and shadows behind the image but needs substantial protected space and a compatible rear-projection surface. Our rear projection material guide explains the trade-offs.
Wind and Weather Safety
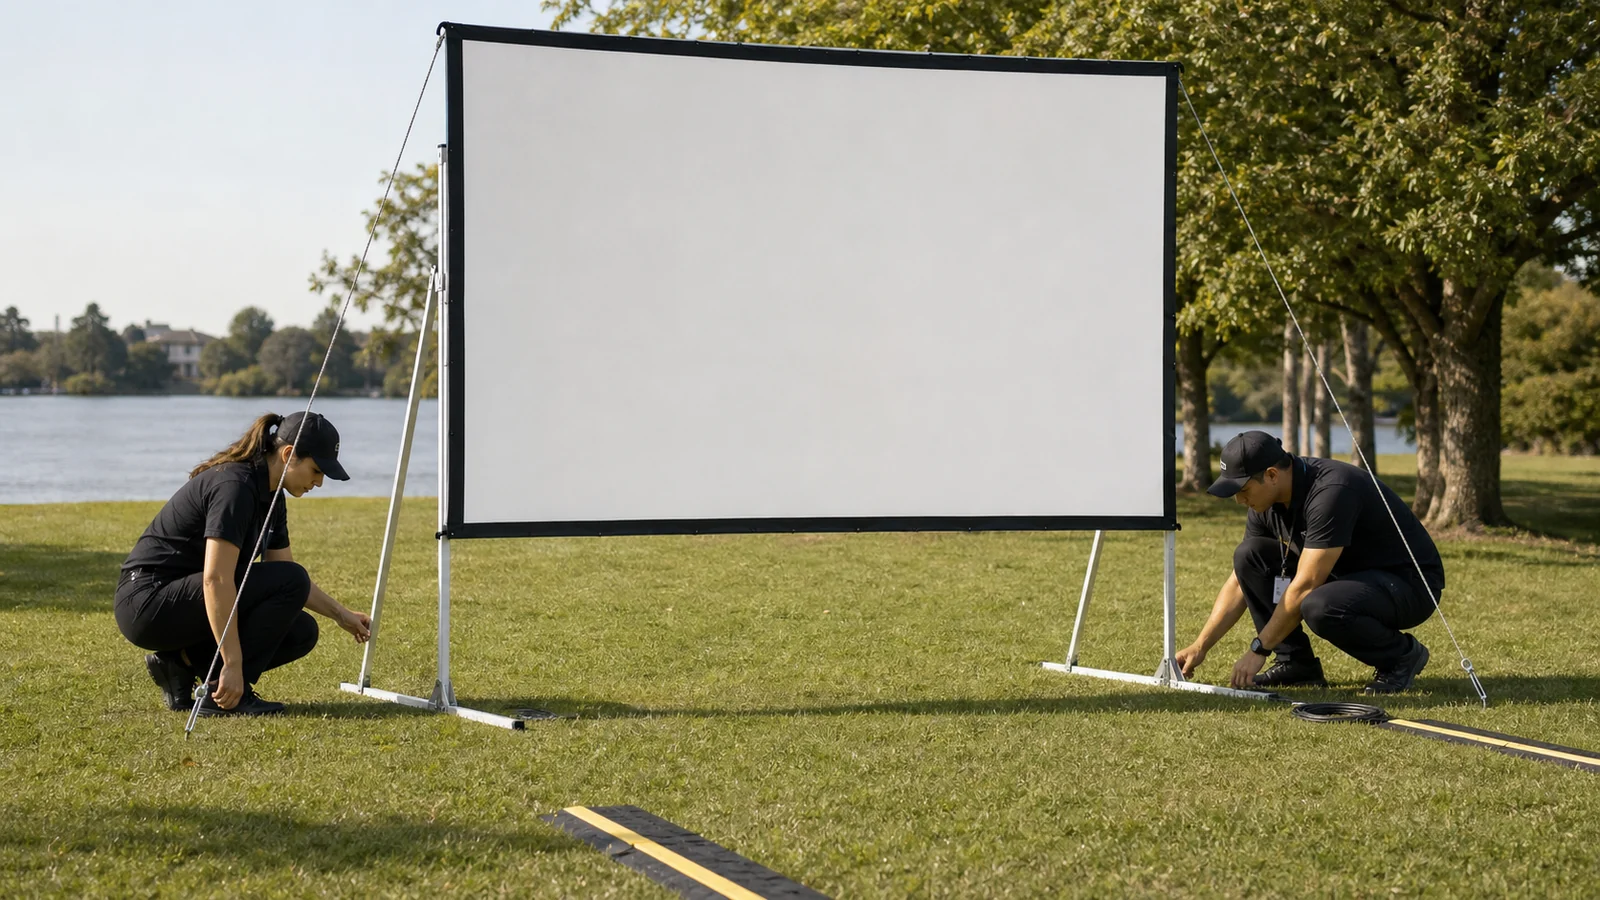
Never publish or invent a wind limit. Use only manufacturer documentation for the exact product, then apply the venue's safety plan and current weather conditions.
Before setup:
- check forecast and local alerts;
- inspect ground, drainage and anchoring options;
- confirm permitted stakes, ballast and exclusion zones;
- assign a person to monitor conditions;
- establish a lower-and-remove decision before the audience arrives;
- stop if the product moves, bows or becomes difficult to control.
Do not leave an erected screen unattended. Do not rely on improvised weights, audience members holding the frame or ropes crossing unprotected walkways. “Water-resistant fabric” does not make the projector, power, connectors or complete system weatherproof.
Surface and Image Quality
Matte white is a predictable starting point after dark. Grey surfaces may improve perceived black level in selected conditions but demand adequate projector output. Rear-projection material is chosen for transmission and backstage geometry. Approve the exact surface with the projector and planned viewing positions.
Keep hands, dirt and wet grass off the viewing area during assembly. Use clean gloves where instructed, attach the surface in the specified sequence and let it dry fully before packing if it becomes damp—only where product care instructions permit.
Power, Cables and Public Safety
Use outdoor-rated, protected electrical equipment and qualified personnel according to local requirements. Keep connections off wet ground, protect cables at crossings and maintain separation between public areas and equipment. The event plan should cover emergency shutdown, lighting for safe exit and teardown responsibility.
FAQ
Can an outdoor projector screen be used in wind?
Only within the exact product guidance and a site-specific safety plan. Conditions can change rapidly; monitor continuously and lower or remove the screen before it becomes difficult to control.
Is an outdoor screen waterproof?
Some fabrics may resist moisture, but that does not make the complete frame, projector, power and control system weatherproof. Follow product documentation and protect the entire system.
What material is best for outdoor movies?
Matte white is a practical starting point after dark. Choose grey or rear-projection materials only when projector output, light and geometry support them.
Can I project outdoors during the day?
Direct daylight overwhelms most projection systems. Use darkness or a genuinely controlled shaded environment; material choice alone cannot overcome sunlight.
Should an outdoor event use front or rear projection?
Front projection needs less backstage depth; rear projection protects the beam path but requires more space and the correct material. Choose from the site layout.
Plan the Complete Outdoor System
Send MGF your audience size, content, event time, projector, site surface, transport limits and responsible setup plan to confirm suitable portable screen options.
Request a Professional Outdoor Event Configuration.
---