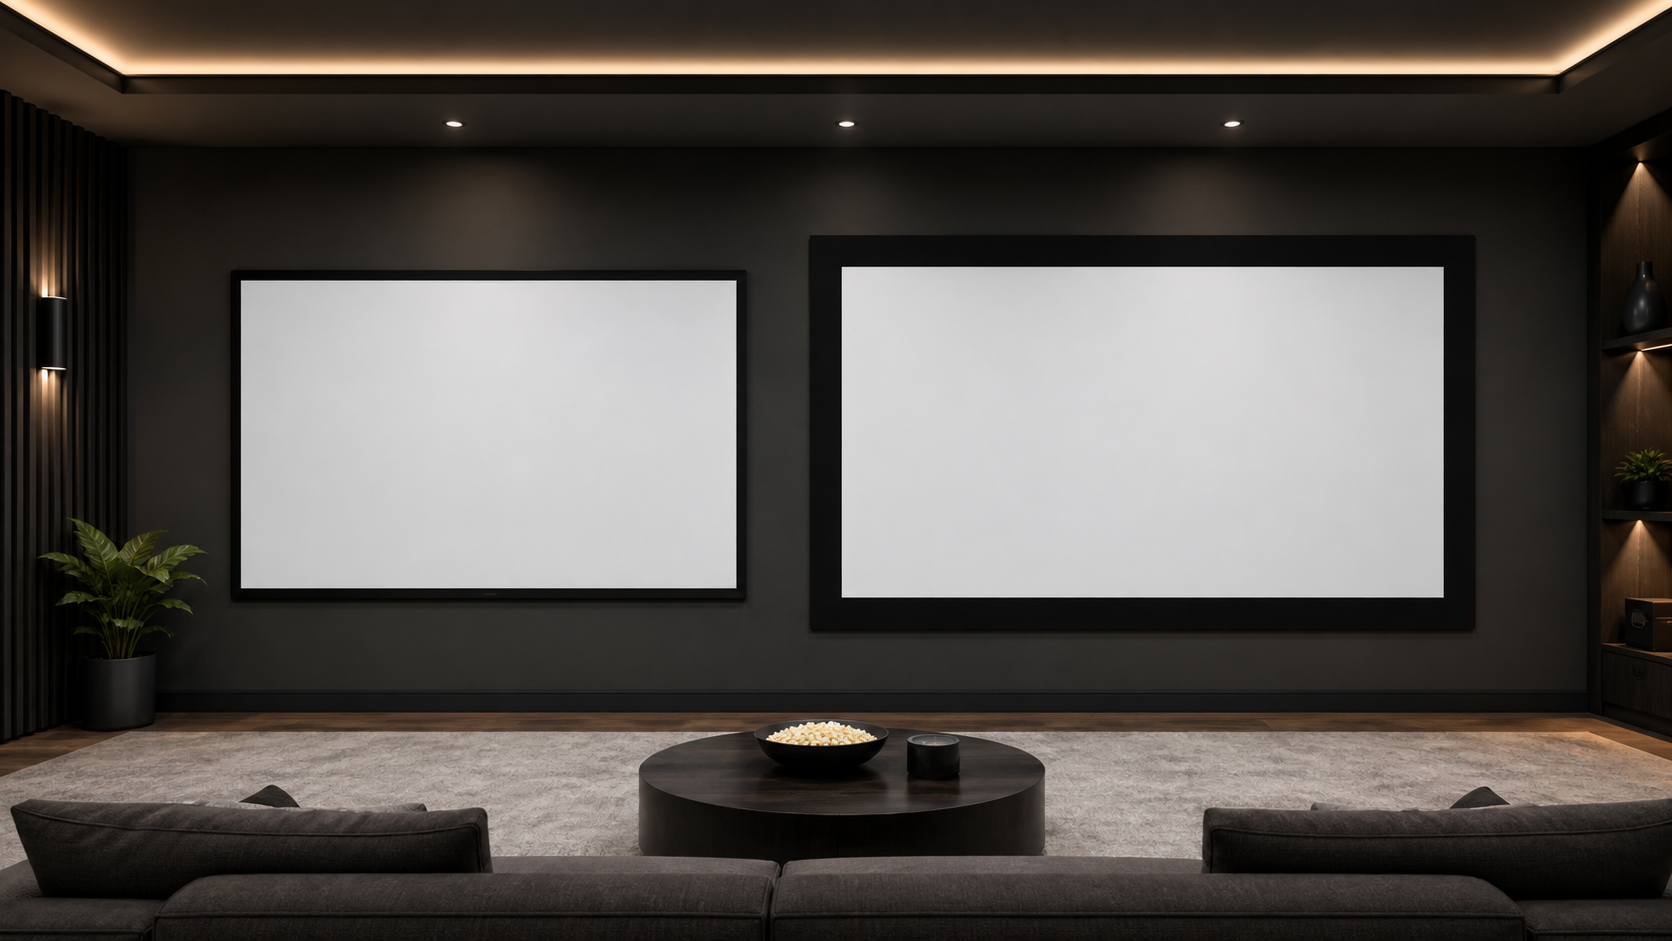
65mm vs 87mm Fixed Frame Screen Borders
---
In This Guide
Quick Answer
When a fixed frame screen is specified with a 65mm or 87mm border, the decision affects the visual edge, overall frame footprint and wall coordination. It does not by itself determine image brightness, color, flatness or acoustic performance.
The safe way to choose is to separate visible image size, frame size, border, material and mounting system. This guide gives distributors, integrators and project buyers a checklist for making that comparison.
Who This Guide Is For
This guide is for AV integrators, distributors, contractors and project buyers who need a documented selection and project-planning path for this topic before requesting a quotation.
Separate Three Dimensions
Every fixed frame request should list three different measurements:
- Visible image: the area receiving the projected image;
- Border: the visible frame around the image;
- Overall frame: the complete outside dimension including the structure and mounting allowance.
Confusing these dimensions can make a screen too large for the wall or reduce the planned image area. Start with the projection screen size and aspect-ratio guide and then request the model drawing.
What a 65mm Border May Suit
A 65mm frame can be considered when the project wants a defined edge but needs to keep the overall frame relatively compact. It may fit a home theater, media room, showroom or room where wall clearance is limited.
The exact visible border and frame construction still need confirmation. Do not assume that the nominal border width is identical on every side or every product family.
What an 87mm Border May Suit
An 87mm frame can provide a more substantial visual boundary and may coordinate with a larger wall treatment or a strong cinema-style frame. It can also influence the total wall footprint, trim and speaker spacing.
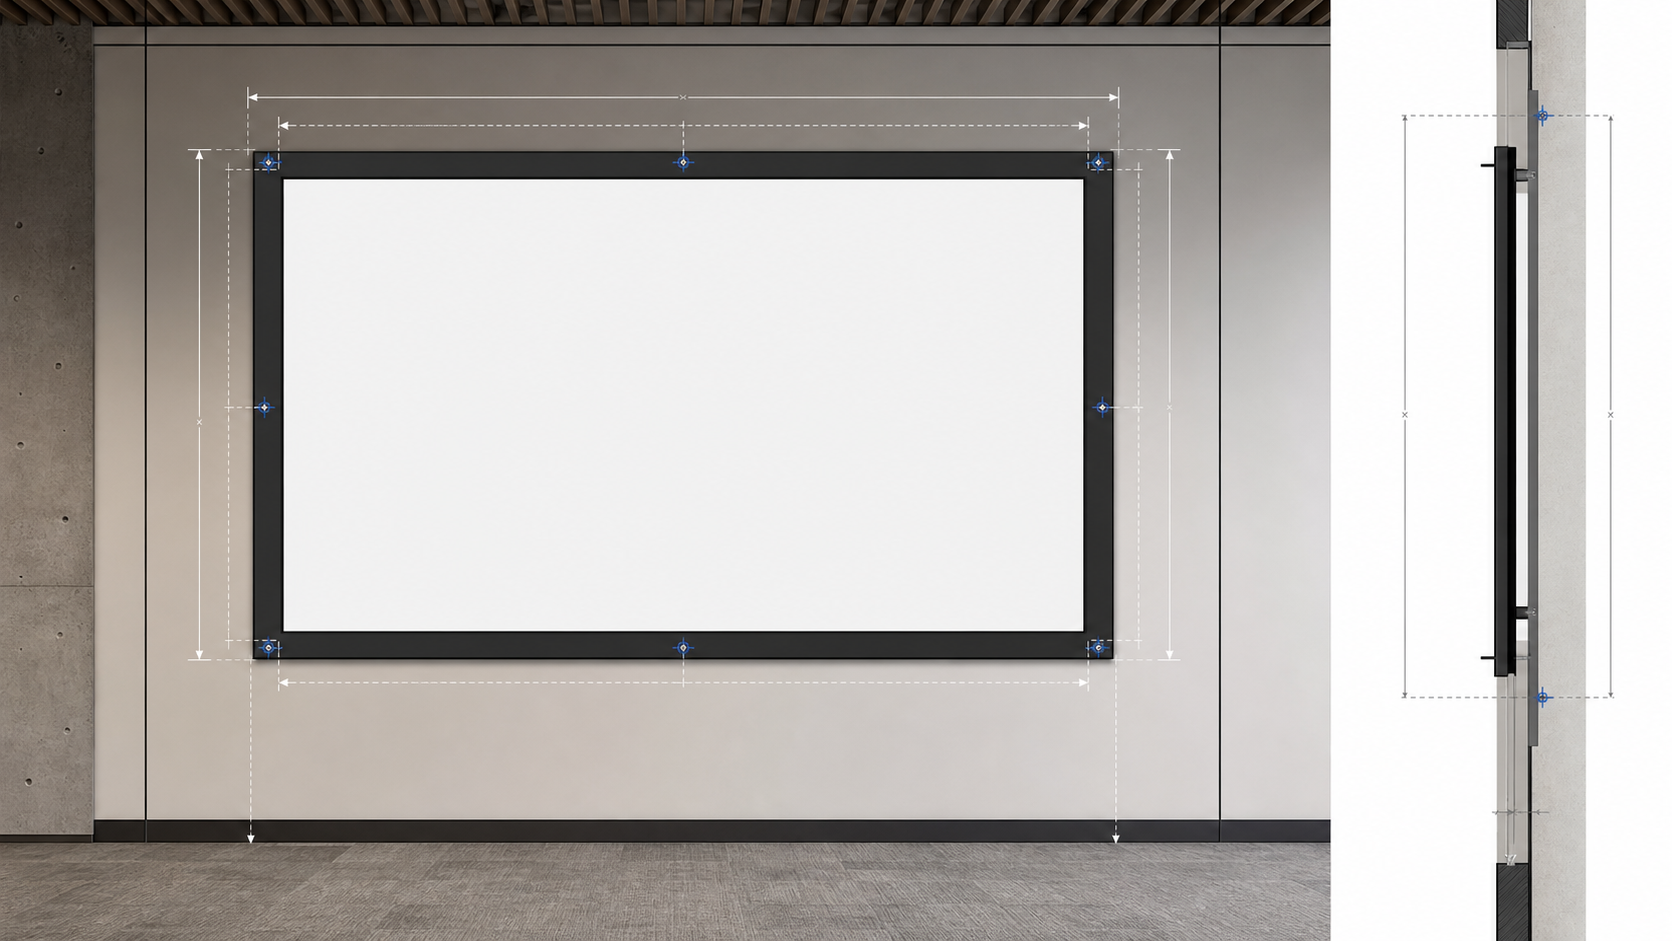
For large or architectural installations, ask the supplier to show image, border, outer frame and fixing points on one approved drawing. This is more reliable than selecting by border label alone.
Comparison Table
| Decision point | 65mm frame direction | 87mm frame direction |
|---|---|---|
| Visual edge | More compact frame presence | More substantial frame presence |
| Overall footprint | May reduce outer footprint, model dependent | May require more wall allowance, model dependent |
| Wall planning | Useful where clearance is tight | Useful where a stronger border is desired |
| Image performance | Determined by surface and projector | Determined by surface and projector |
| Speaker planning | Confirm side/below/behind placement | Confirm side/below/behind placement |
| Critical document | Visible image and outer frame drawing | Visible image and outer frame drawing |
Material Compatibility Comes First
Both frame directions must be evaluated with the selected fabric. Matte white, grey, ALR, UST/CLR and acoustic transparent surfaces have different optical or acoustic considerations. See the Screen Materials Hub and request samples where the room light, viewing angle or speaker placement makes the choice sensitive.
If the image is for a dedicated cinema, compare the fixed frame projection screen products. If the screen will be used in a commercial or training environment, link the Commercial Display or Education Classroom application requirement to the frame decision.
Wall, Trim and Speaker Coordination
Before ordering, mark the screen centerline and outside dimensions on the elevation. Check wall flatness, fixing points, power or signal routes, acoustic panels, lights, doors and speakers.
If speakers are placed behind the image, the frame and material must support an acoustic transparent design. Use the acoustic transparent projection screen guide and coordinate the speaker wall before the frame is approved.
A Practical Border-Measurement Workflow
Measure the wall opening, not just the desired image diagonal. Mark the image centerline, visible image rectangle, border and outer frame on an elevation. Then add mounting and assembly clearance. This drawing should show how the 65mm or 87mm border interacts with acoustic panels, trim, lights, doors and speakers.
If the screen will be installed in more than one room, use the same reference points for every elevation. A consistent measurement method makes it easier to compare rooms, order replacements and keep the approved drawing aligned with the product label.
Sample and Viewing Review
When the border decision is part of a premium room, review a representative frame and material sample from the planned seating positions. Check the edge, surface texture, color neutrality and visible reflections under the actual lighting. The sample review should be recorded with the model, material and revision so a later procurement team does not substitute a different frame by appearance alone.
Fixed Frame RFQ Checklist
Provide:
- visible image width and height;
- aspect ratio and content type;
- preferred border direction: 65mm, 87mm or another model;
- projector model and lens position;
- room light and seating layout;
- material or sample requirement;
- wall construction and mounting height;
- speaker arrangement and acoustic requirement;
- delivery location and drawing approval process.
For technical drawing and factory process context, see Factory & Production and send the final specification through Contact MGF Screens.
MGF Product Direction
MGF can compare suitable product directions once the project brief confirms visible image size, aspect ratio, projector geometry, material direction, mounting condition, control requirements, quantity and destination market. The final quotation should identify the exact model, compatible material, drawing and approval information rather than treating a generic guide as a product specification.
Project / OEM Checklist
- visible image width, height and aspect ratio;
- projector model, lens position and image geometry;
- room or venue use, seating and ambient-light condition;
- proposed material, structure, mounting and service access;
- power, control and installation responsibility where relevant;
- required quantity, destination market, drawing revision and approval owner.
Continue Your Project Planning
- Screen Selection Guides
- Electric Projection Screens
- Fixed Frame Projection Screens
- Conference Room Applications
- Factory & Production
- Projection Screen Size and Aspect Ratio Guide
- Contact MGF Screens
FAQ
Does a wider border make the image brighter?
No. Brightness depends on the projector, material, image size and room conditions. The border mainly affects the visual edge and overall frame footprint.
Is a 65mm frame always better for small rooms?
Not automatically. Wall layout, seating, image size, material and speaker placement still determine the right frame.
Can both borders use the same screen material?
Only if the exact product families support it. Confirm material compatibility and frame construction.
What drawing should the supplier provide?
Request visible image, border, overall frame, mounting points, material, cable or accessory details and any required clearance on one current drawing.
Request a Border-Size Review
Send the target image size, wall elevation, projector information, material direction and preferred border to MGF Screens. A model-specific drawing can confirm whether the 65mm or 87mm family fits the project.