Low-Voltage Motorized Projection Screen Guide
---
In This Guide
Quick Answer
A low-voltage motorized projection screen can simplify integration in a meeting room, classroom, showroom or multi-room AV project. It is not selected by voltage label alone. The correct specification depends on the screen model, the available power architecture, the control method, the projector image, the installation location and the service plan.
Use this guide to prepare the information an AV integrator or projection screen supplier needs before confirming a low-voltage electric screen.
Who This Guide Is For
This guide is for AV integrators, distributors, contractors and project buyers who need a documented selection and project-planning path for this topic before requesting a quotation.
When a Low-Voltage Motorized Screen Makes Sense
Low-voltage screen projects usually have a defined control or power requirement. Examples include a room where the screen must be triggered by an AV controller, a multi-room installation that uses centralized equipment, or a concealed installation where the power and control routes are planned together.
The phrase “low voltage” may describe the motor supply, the control circuit, or the project’s preferred interface. Those are not interchangeable. Ask the supplier to identify the exact electrical architecture for the proposed model rather than assuming that any motorized screen can share the same wiring.
Confirm the Project Before Choosing the Screen
Record the following information first:
- visible image width, height and aspect ratio;
- screen type: standard electric, tab-tensioned, in-ceiling or another structure;
- intended room and viewing positions;
- projector model and lens position;
- available power source and local electrical requirements;
- control preference, such as RF, IR, trigger, dry contact or building-control integration;
- housing position, service access and cable route;
- target quantity, delivery location and project schedule.
For image geometry, compare the projection screen size and aspect-ratio guide. For a retractable product direction, review the in-ceiling electric projection screen and tab-tension electric screen product families.
Separate Power From Control Requirements
Before ordering, ask four separate questions:
| Question | Why it matters |
|---|---|
| What powers the motor? | Confirms the correct motor and electrical arrangement |
| What starts and stops the screen? | Avoids a mismatch between the screen and AV controller |
| Where is the local isolation point? | Supports safe installation and service |
| What happens if the control system fails? | Defines manual override or service procedure |
An AV project may need a low-voltage trigger while the motor itself uses a different supply arrangement. A drawing that shows only a signal wire is not enough. Request the model-specific wiring diagram, terminal definition and commissioning instructions before the ceiling or wall is closed.
Match the Screen Type to the Room
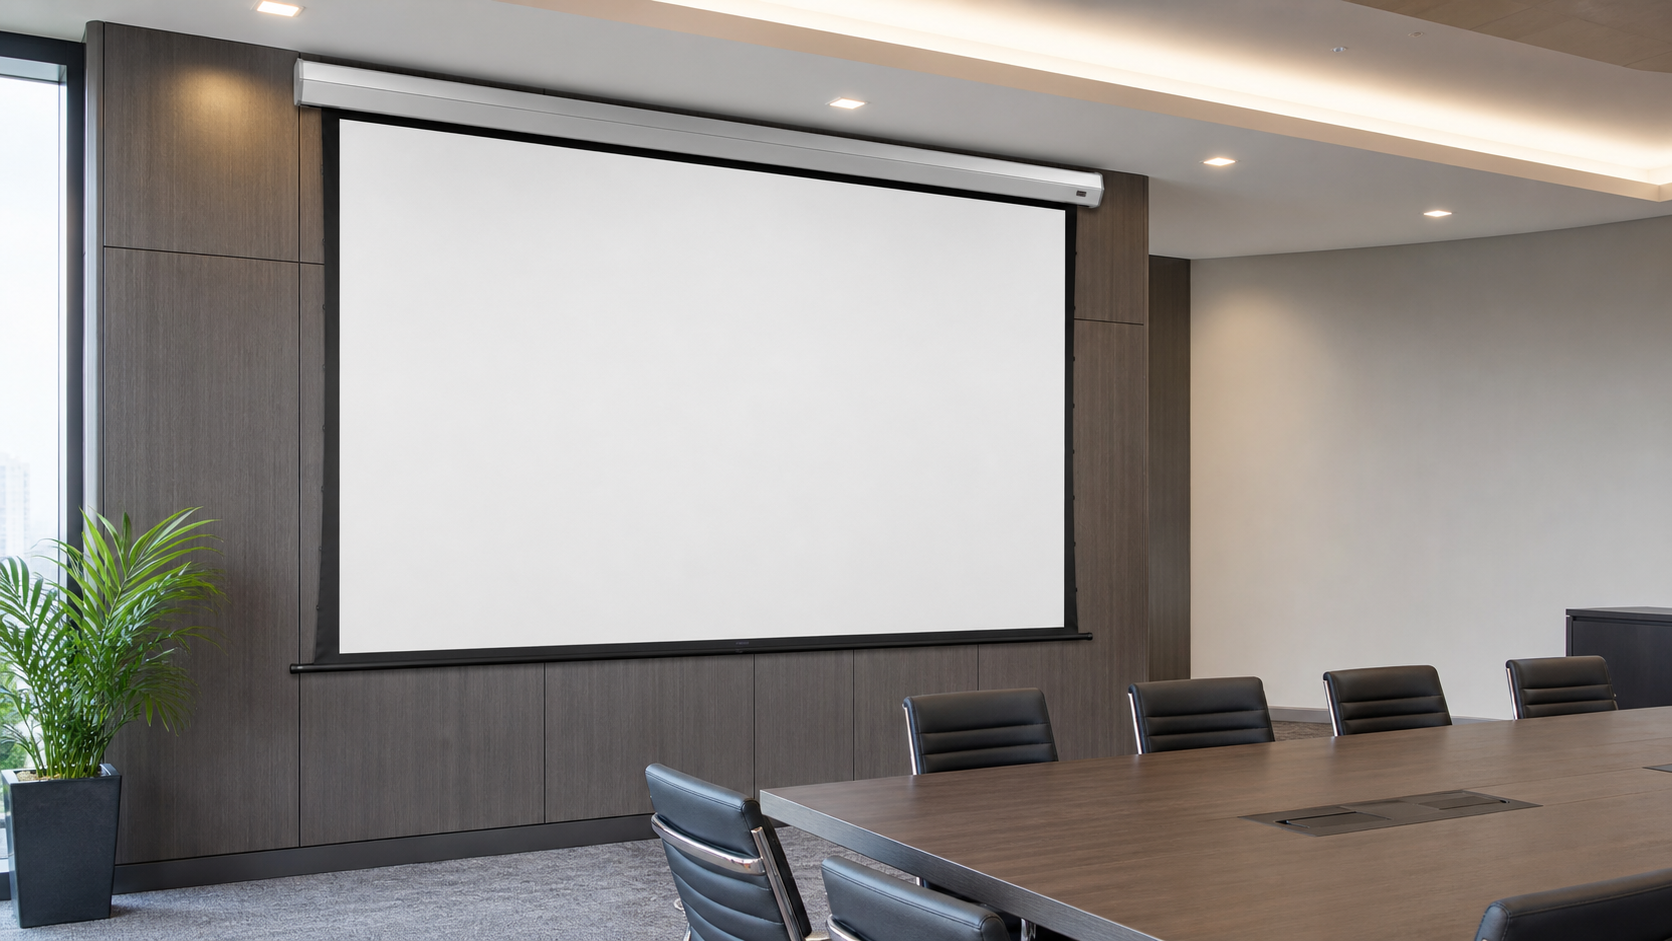
For a standard meeting room, a motorized screen can keep the wall visually clean and make operation repeatable. A standard electric projection screen may be appropriate when the wall or ceiling has accessible service space and the project does not require a tensioned surface.
For a premium room or a larger image where edge control is important, a tab-tensioned design may be worth evaluating. Check the exact offered size, material compatibility and side clearance. For a dedicated home theater, compare the fixed-frame projection screen family before assuming that a retractable model is the best fit.
Installation Details to Confirm
Low-voltage planning should happen before finishes are complete. Confirm:
- rough-in dimensions for the housing and brackets;
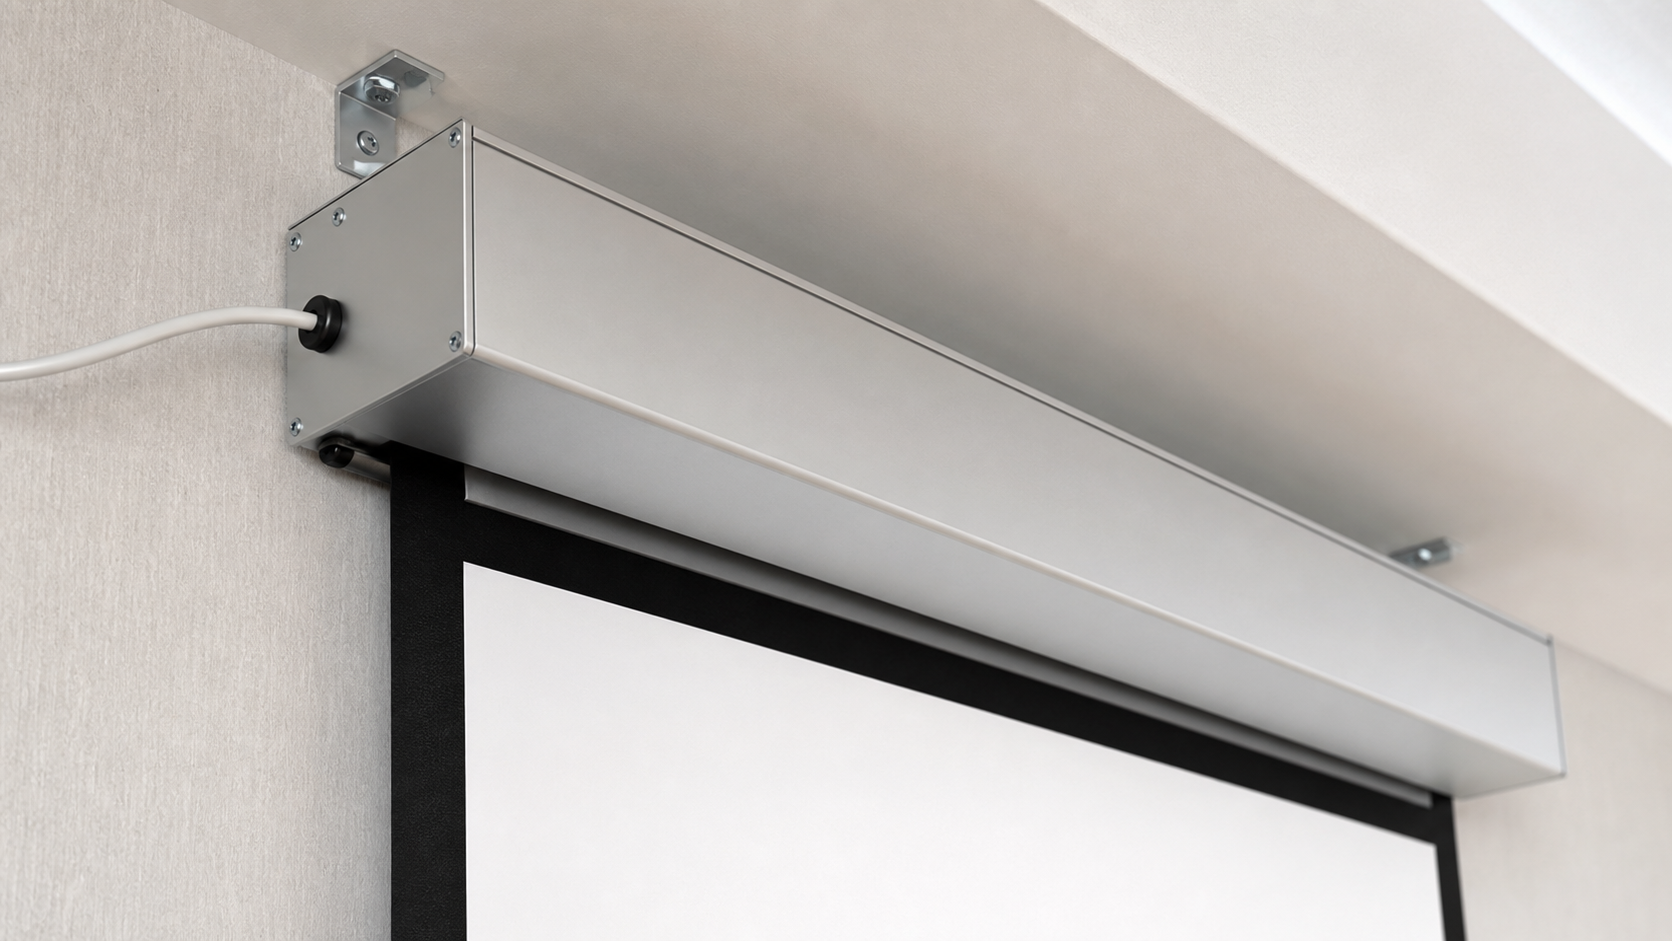
- the location of the power and control cable entry;
- access to the motor, control board and limit-setting points;
- the clearance needed for the bottom bar and fabric path;
- the location of the projector relative to the final image plane;
- the test procedure after installation.
Do not hide a housing without a documented service route. If the screen is integrated with a building-control system, the integrator should verify the control sequence with the exact screen model before handover.
Low-Voltage Planning for Repeated Rooms
Multi-room projects need a repeatable naming and documentation method. Give each room a screen ID, drawing revision, control method and commissioning record. If several rooms use different screen families, keep the differences explicit instead of asking installers to infer them from a generic wiring schedule.
For a distributor or contractor, the most useful comparison is not “low voltage versus high voltage.” It is whether the proposed screen can be installed, controlled and serviced consistently across the project. Check the mounting hardware, fabric path, controller location, local override, replacement procedure and spare-part identification.
The same rule applies to a retrofit. Record the existing casing position, cable route, image size and control system before replacing the screen. A new motorized screen may fit the wall but still require a new control interface or access panel. Ask the supplier to identify which parts of the old installation can remain and which must be updated.
Sample Approval and Handover
When the surface is important to the customer, approve the material and image behavior before approving the electrical package. Test the surface under the intended projector and room light, then record the approved material name and model reference in the project file.
At handover, demonstrate local operation, integrated operation, up/down limits, isolation, emergency stop or safe stop, and the service route. Keep a photo of the terminal labels and the final cable path. These records reduce confusion when a distributor or facility team later asks for a replacement or a second room.
What to Include in an RFQ
Send a supplier a short specification rather than only a diagonal size. Include the room application, visible image size, aspect ratio, material direction, housing type, installation position, control method, quantity and destination. If the project requires a low-voltage interface, attach the control-system requirement or wiring standard.
MGF Screens can review a project request through the Contact page. For distributor or project cooperation, the Partner Program page provides a relevant trust link. Production and inspection questions should reference the Factory & Production information.
MGF Product Direction
MGF can compare suitable product directions once the project brief confirms visible image size, aspect ratio, projector geometry, material direction, mounting condition, control requirements, quantity and destination market. The final quotation should identify the exact model, compatible material, drawing and approval information rather than treating a generic guide as a product specification.
Project / OEM Checklist
- visible image width, height and aspect ratio;
- projector model, lens position and image geometry;
- room or venue use, seating and ambient-light condition;
- proposed material, structure, mounting and service access;
- power, control and installation responsibility where relevant;
- required quantity, destination market, drawing revision and approval owner.
Continue Your Project Planning
- Screen Selection Guides
- Electric Projection Screens
- Fixed Frame Projection Screens
- Conference Room Applications
- Factory & Production
- Projection Screen Size and Aspect Ratio Guide
- Contact MGF Screens
FAQ
Is a low-voltage motorized screen the same as a low-voltage trigger screen?
Not necessarily. The trigger may be a control signal while the motor uses a separate power arrangement. Ask for the model-specific electrical diagram.
Can one control system operate several screens?
It may be possible, but the integrator must confirm addressing, relay capacity, cable routing and the screen controller used for the exact models.
Should I choose a standard electric or tab-tensioned screen?
Choose from image-flatness requirements, offered size, material, room use and service access. Tab tension can help control the surface, but it adds installation and product compatibility checks.
What should be checked before the ceiling is closed?
Confirm housing dimensions, bracket positions, wiring, power isolation, control access, fabric clearance and the commissioning procedure.
Request a Low-Voltage Screen Specification Review
Send the screen size, projector model, room type, control method, power requirement and installation drawing to MGF Screens. A clear project brief allows the product family, material and control path to be checked together.