Golf Simulator Projection Screen Guide
---
In This Guide
Quick Answer
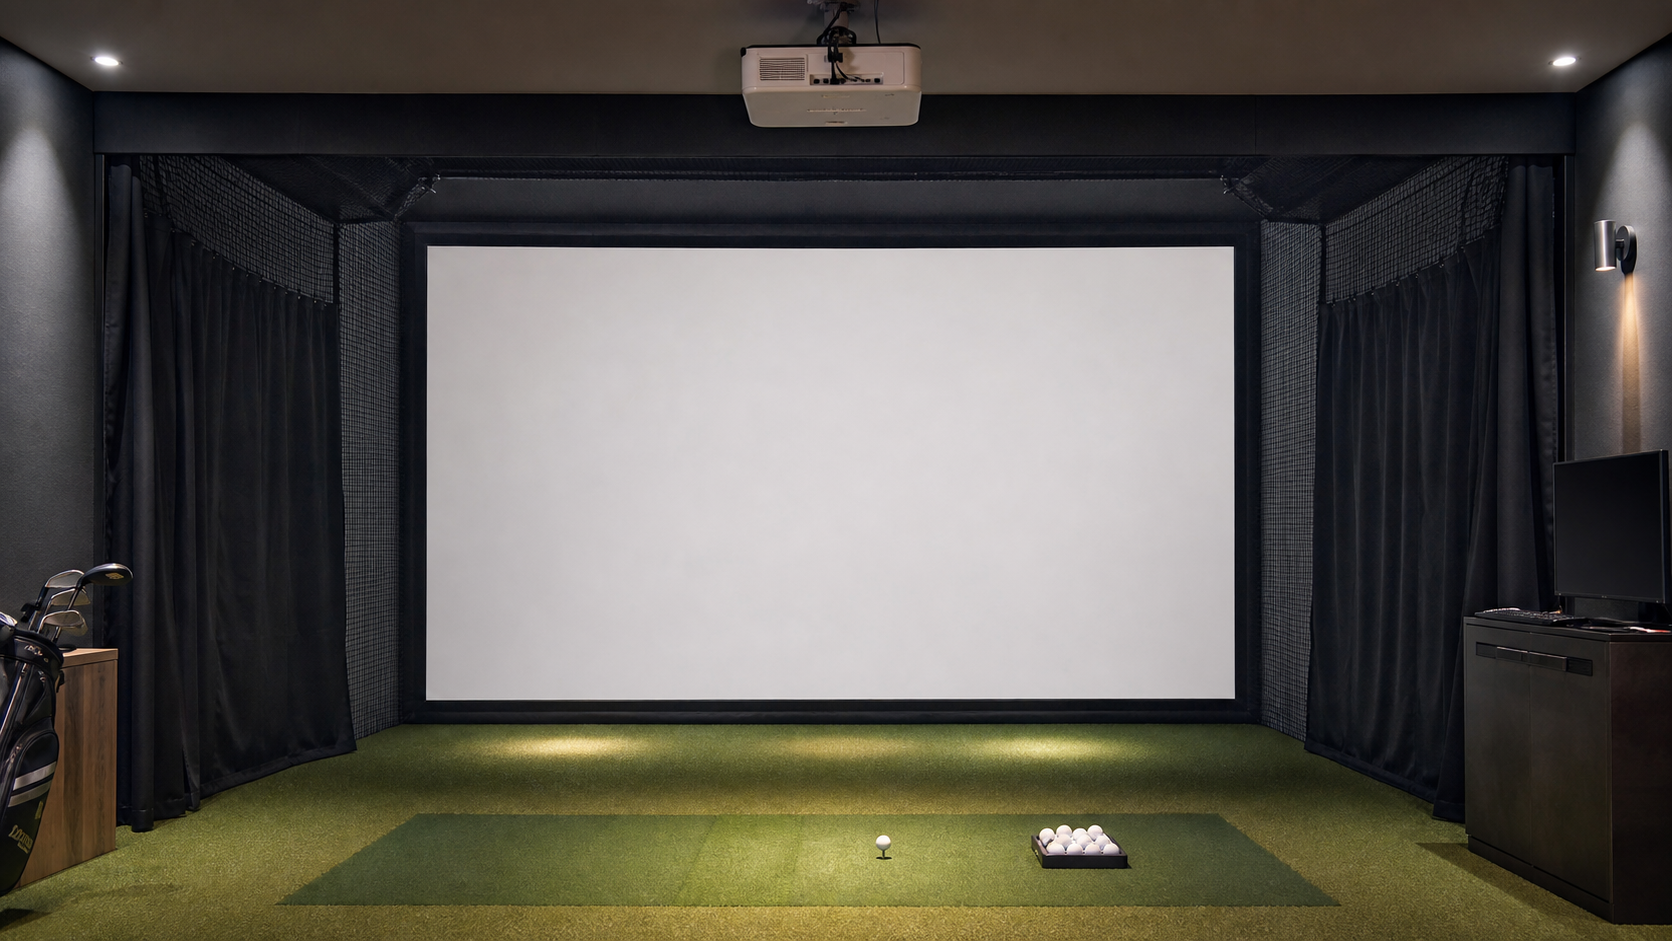
A golf simulator projection screen is part of an impact environment, not only a display surface. The screen, frame, enclosure, projector, hitting area, side protection, image size and maintenance access must work together.
This guide is for simulator builders, indoor golf venues, commercial recreation projects and home users preparing a projection screen request. Exact impact performance, material construction and safety suitability must be confirmed for the selected model and installation.
Who This Guide Is For
This guide is for AV integrators, distributors, contractors and project buyers who need a documented selection and project-planning path for this topic before requesting a quotation.
Start With the Simulator Layout
Record the room width, depth, ceiling height, hitting position, projector position, enclosure shape, side clearances and audience area. Identify whether the room is for one player, multiple players, instruction, entertainment or commercial operation.
The screen should be centered to the hitting line and positioned so the projected image is not interrupted by the enclosure or safety structure. Mark the image plane, frame, projector, sensors, lighting and access route on one drawing.
For product direction, compare the Fixed Frame Projection Screens family. For application context, use the Home Theater and Commercial Display pages as related internal links. A dedicated Golf Simulator application page should be added later to support this search intent.
Screen Material and Impact Requirements
The material must be selected for the simulator’s intended use and impact environment. Do not assume that any projection fabric is an impact screen or that any impact screen provides the same image quality.
Ask the supplier to confirm:
- intended use and impact conditions;
- material construction and surface texture;
- recommended tension or attachment method;
- frame and enclosure compatibility;
- cleaning and inspection procedure;
- replacement method and expected project documentation.
If the exact impact rating or ball-speed condition is not in the current controlled document, describe it as “to be confirmed” rather than adding a number.
Choose the Frame and Enclosure
A fixed frame can create a stable image plane when the wall and enclosure are permanent. The frame must be installed level, kept clear of the hitting zone and protected from direct impact where the project requires it.
Some simulator designs use a custom enclosure, side curtains or ceiling protection. The screen should not be treated as the only safety component. Coordinate the frame, padding, netting, side protection and access door with the installer and venue operator.
For a commercial room, include inspection and replacement access in the design. A screen that is difficult to remove can interrupt business operations when it needs cleaning or replacement.
Projector and Image Geometry
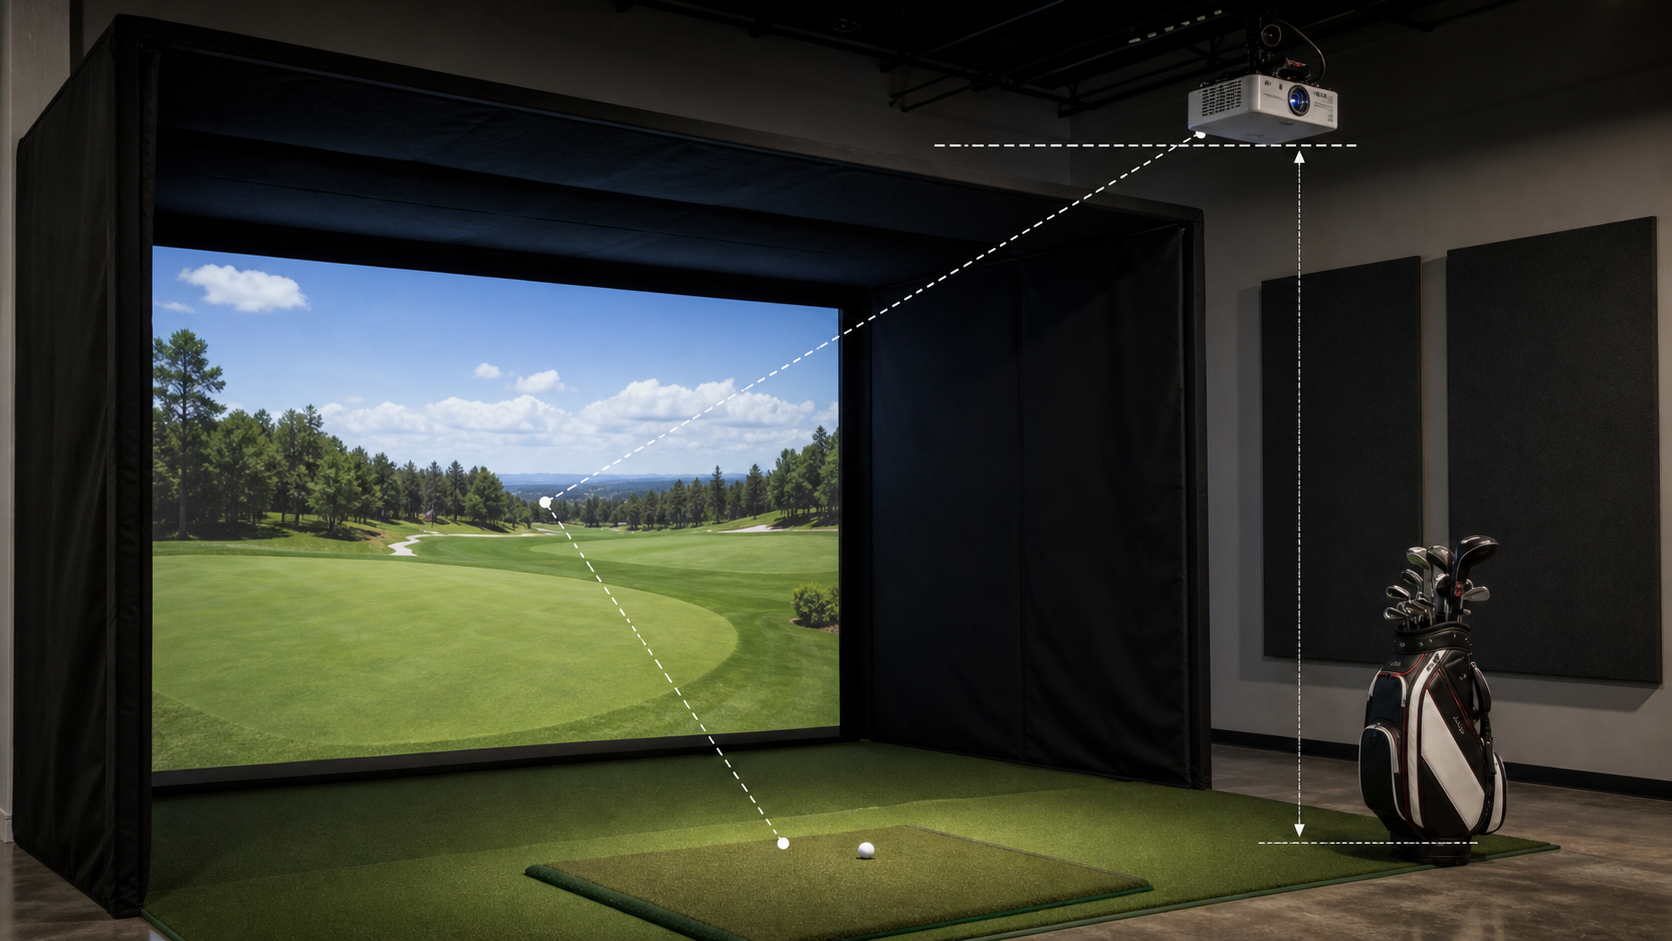
The projector must create the intended image without obstruction from the enclosure, sensors or ceiling. Confirm throw distance, lens position, image width, aspect ratio, focus area and light conditions.
Use the projection screen size and aspect-ratio guide and projector pairing guide as planning references. The final image should be checked from the hitting position and spectator seats, not only from the projector location.
Maintenance and Replacement Planning
Golf simulator screens may collect dust, marks or impact-related wear. Define who inspects the surface, how it is cleaned, what signs require replacement and how the frame or material is removed.
Record the approved screen model, material, frame dimensions, image size and supplier documents. For a multi-room venue, use the same model naming and inspection form across rooms. MGF Screens’ Factory & Production page can support the trust section; project questions should go to Contact.
Golf Simulator RFQ Checklist
Include:
- room dimensions and enclosure drawing;
- hitting position and target image size;
- projector model and lens information;
- impact environment and use frequency;
- frame, padding and side-protection design;
- material sample or test requirement;
- cleaning, inspection and replacement plan;
- quantity, delivery location and installation responsibility.
Decision Table
| Project condition | Direction to confirm | Approval action |
|---|---|---|
| Simulator layout | Screen plane, enclosure and safe player area | Coordinate the screen with the simulator designer and room drawing. |
| Image and projector | Visible image, projector position and throw geometry | Confirm the exact projector and image layout before fixing the screen position. |
| Surface evaluation | Proposed material, viewing result and intended use | Approve the proposed material from a controlled sample and selected product configuration. |
| Frame and access | Frame structure, edge protection and replacement access | Record the configuration and access route in the quotation and installation plan. |
| Handover | Cleaning, inspection and replacement information | Keep the approved model, drawing revision and maintenance instructions with the site record. |
MGF Product Direction
MGF can compare suitable product directions once the project brief confirms visible image size, aspect ratio, projector geometry, material direction, mounting condition, control requirements, quantity and destination market. The final quotation should identify the exact model, compatible material, drawing and approval information rather than treating a generic guide as a product specification.
Project / OEM Checklist
- visible image width, height and aspect ratio;
- projector model, lens position and image geometry;
- room or venue use, seating and ambient-light condition;
- proposed material, structure, mounting and service access;
- power, control and installation responsibility where relevant;
- required quantity, destination market, drawing revision and approval owner.
Continue Your Project Planning
- Application Guides
- Fixed Frame Projection Screens
- Home Theater Applications
- Commercial Display Applications
- Factory & Production
- Projection Screen Size and Aspect Ratio Guide
- Contact MGF Screens
FAQ
Can any projection screen be used for golf simulation?
No. The impact environment, material, frame and enclosure must be reviewed for the intended use.
Is a fixed frame better than a motorized screen for golf simulation?
A permanent simulator often favors a fixed frame, but the choice depends on room use, enclosure design, access and the approved impact solution.
Does a thicker screen always give a better image?
Not necessarily. Material texture, projector compatibility, tension and room geometry also affect image quality.
What should be tested before opening a commercial simulator?
Test image alignment, surface condition, enclosure clearance, impact-related inspection, cleaning procedure and replacement access.
Request a Golf Simulator Screen Review
Send the room plan, hitting position, projector, target image size, enclosure design and intended use to MGF Screens. The material and frame should be reviewed as a complete simulator system.