Projection Screen Material Sample Evaluation Checklist
---
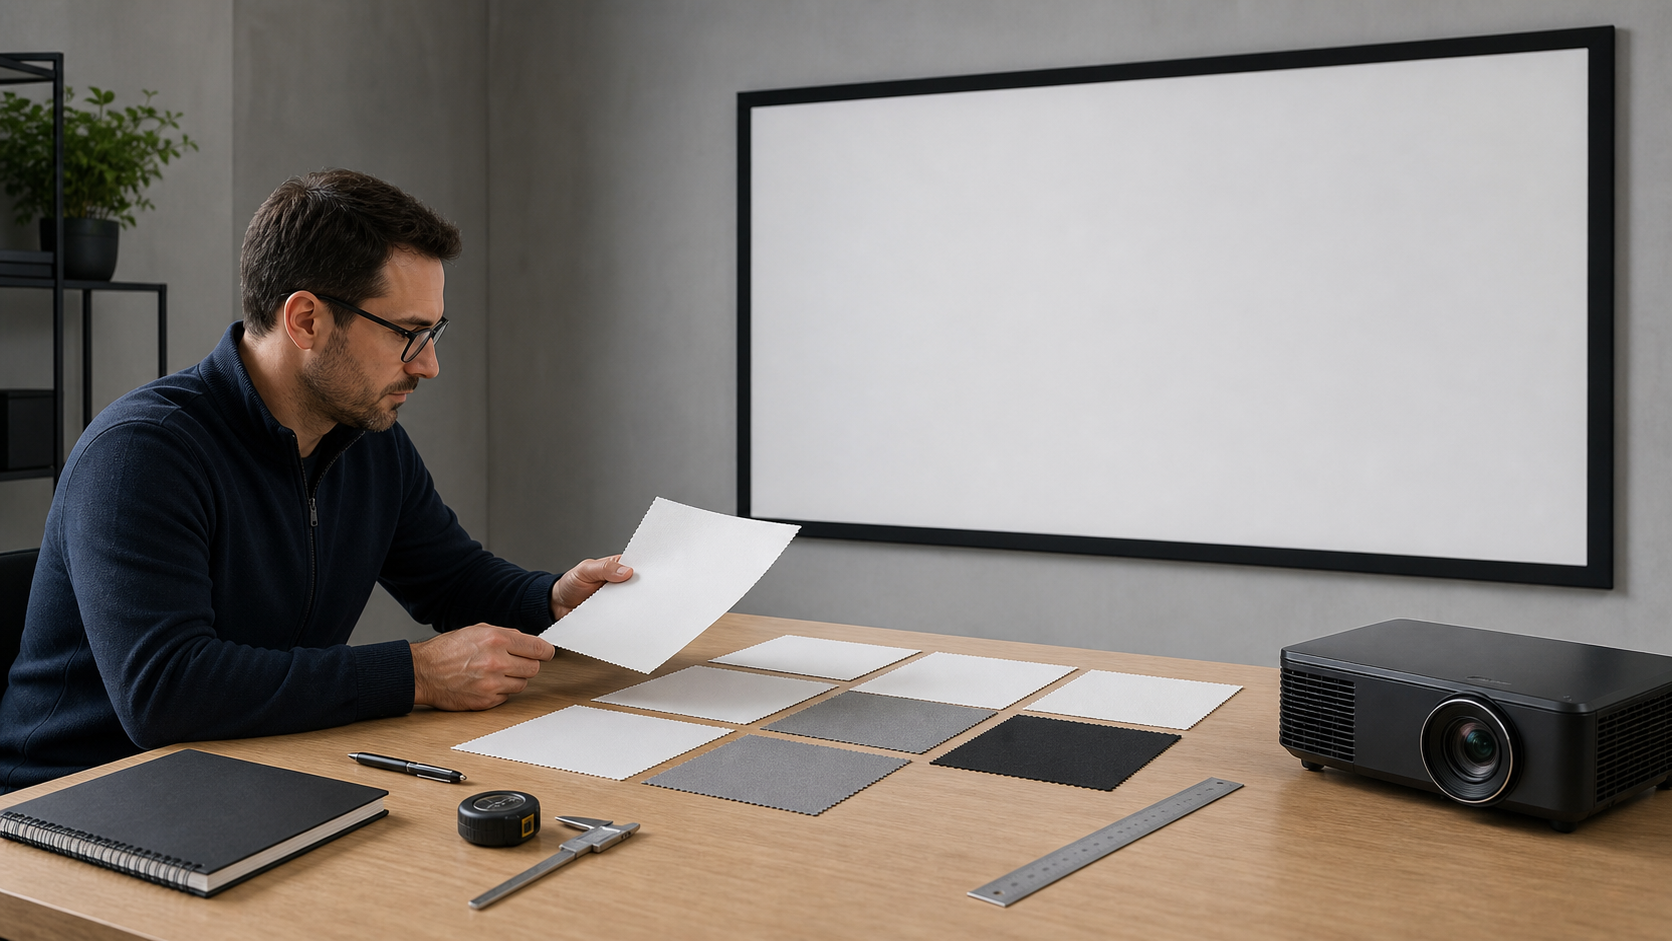
Material samples turn a vague request such as “white screen” or “ALR fabric” into a controlled purchasing decision. A sample does not replace a full-size inspection, but it gives the project team a repeatable way to compare color, texture, viewing behavior, projector compatibility and frame fit before an order is released.
In This Guide
Quick Answer
Approve a projection screen sample only after the sample is identified, viewed under the intended projector and light conditions, compared from the actual seating positions and linked to the exact frame and size configuration. Record both acceptance and limitations. Never approve a sample from a phone photograph alone, and do not assume that the same fabric behaves identically on every projector or screen structure.
The Screen Materials Hub provides the topic framework. For OEM projects, connect the result to the sample approval process and the RFQ checklist.
Who This Guide Is For
This guide is for AV integrators, distributors, contractors and project buyers who need a documented selection and project-planning path for this topic before requesting a quotation.
1. Identify the Sample Before You Look at It
Write the sample code, material name, revision, finish, backing, approximate sample size and date received. If the supplier provides more than one surface, keep each piece in a separate sleeve. Record the intended application, projector type, image size, aspect ratio and whether the final screen is fixed frame, electric, tab-tensioned, portable or rear projection.
The sample is evidence only when the production item can be traced back to it. Ask MGF to confirm the material name and compatible product families before using the sample as a purchase reference. The factory and production page is useful for the supplier context, but the quotation and approved sample remain the project-specific record.
2. Inspect the Surface in Neutral Light
Begin with a lamp or room condition that resembles the installation. Look for color cast, coating variation, visible texture, pinholes, creases, edge damage and backing separation. Do not evaluate only under a bright showroom spotlight; directional lighting can hide uniformity problems or exaggerate sparkle.
Record the observation rather than using unsupported numeric claims. “Neutral white at the center and corners under the project lamp” is a useful project note. “Guaranteed color accuracy” is not, unless a controlled measurement and specification are provided.
3. Test the Sample With the Intended Projection Geometry
Use the intended projector category, lens direction and approximate image scale. Note whether the material is being considered for standard throw, short throw, UST, front projection or rear projection. UST and directional ALR surfaces are especially sensitive to angle and surface structure; the short-throw material guide should be read alongside the projector data.
Check focus at the center and corners, uniformity across the image, hotspotting, sparkle, texture visibility and shadow detail. If the final screen will be much larger than the sample, treat the test as a first filter rather than a final approval.
4. View From the Actual Seating Layout
Mark the nearest, center and side seating positions. Compare slides, text, skin tones, dark scenes and wide color fields. Ask whether every seat receives a consistent image, not only whether the center looks bright. The gain and viewing-angle guide explains why a directional surface can trade center brightness for a narrower viewing response.
For acoustic transparent material, add the speaker wall, a representative grille or the proposed speaker distance. Listen for changes only after the visual surface has passed the first review. Keep the acoustic review separate from the visual approval so one preference does not hide another risk.
5. Confirm Mechanical and Cleaning Compatibility
Check whether the material can be attached to the selected frame or tensioning system, whether the backing needs a specific orientation and whether the final edge treatment matches the screen design. For retractable screens, confirm whether the material is approved for rolling, tab tension or the proposed bottom bar.
Ask for cleaning instructions and storage limitations. A sample that looks good but cannot be cleaned, repaired or replaced within the project workflow is not a complete approval.
Sample Approval Record
| Field | What to record |
|---|---|
| Sample identity | Material name, code, revision and date |
| Project geometry | Image width, height, aspect ratio and projector type |
| Light condition | Room condition, blinds, fixtures and test time |
| Viewing positions | Nearest, center and side seat observations |
| Visual result | Color, texture, focus, uniformity and hotspotting notes |
| Structure fit | Fixed frame, electric, tab-tension, portable or rear projection compatibility |
| Decision | Approved, approved with conditions, or rejected |
| Traceability | Quote, drawing, purchase order and inspection reference |
What to Send in an OEM Inquiry
Provide the target screen family, material direction, image size, projector details, application, quantity, destination market, sample requirement and deadline. Ask MGF to return the confirmed material name, compatible construction, available sample and any limitations. For a distributor program, the Partner Program can be linked to the same approval record.
MGF Product Direction
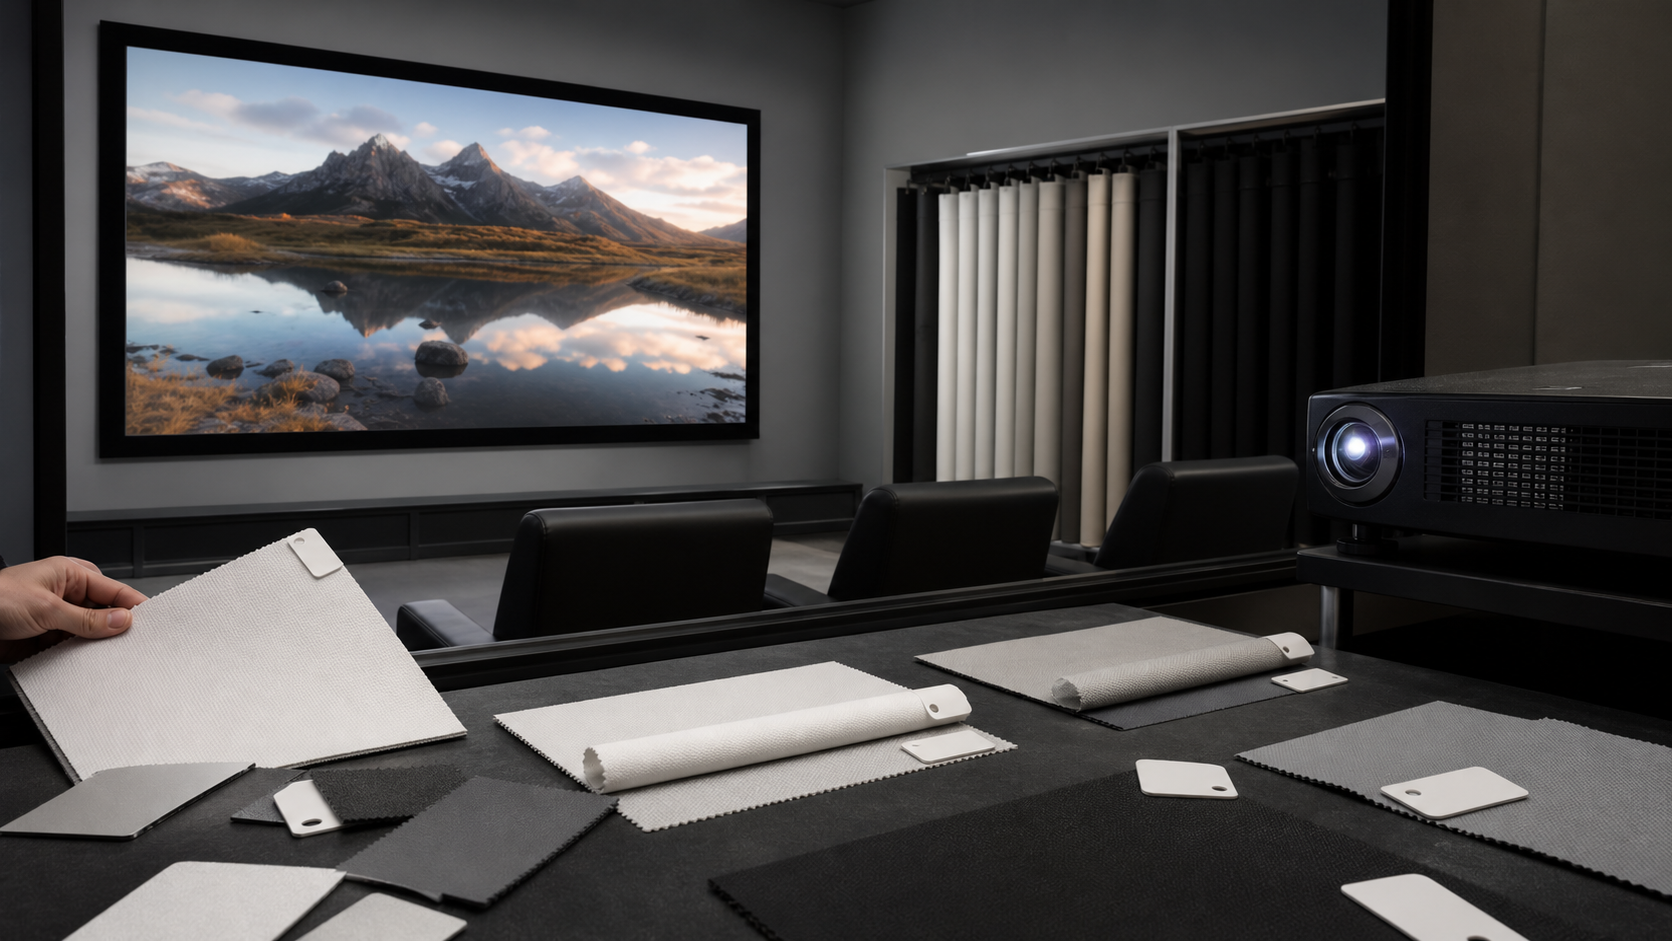
MGF can compare suitable product directions once the project brief confirms visible image size, aspect ratio, projector geometry, material direction, mounting condition, control requirements, quantity and destination market. The final quotation should identify the exact model, compatible material, drawing and approval information rather than treating a generic guide as a product specification.
Project / OEM Checklist
- visible image width, height and aspect ratio;
- projector model, lens position and image geometry;
- room or venue use, seating and ambient-light condition;
- proposed material, structure, mounting and service access;
- power, control and installation responsibility where relevant;
- required quantity, destination market, drawing revision and approval owner.
Continue Your Project Planning
- OEM & Procurement Guides
- OEM & ODM Projection Screens
- Quality Control
- Factory & Production
- OEM Projection Screen Manufacturer Evaluation Guide
- OEM Projection Screen Ordering Process
- Contact MGF Screens
FAQ
Can a sample be approved from a photo?
No. Photos are useful for documentation but cannot verify texture, viewing angle, focus or projector interaction.
Should the sample be tested at full screen size?
For high-risk materials or large projects, perform a representative full-size or larger mock-up review. A small sample is a screening step, not always a final sign-off.
What if the sample is acceptable but the frame changes?
Reconfirm attachment, tensioning, backing orientation and visible border. Material approval is linked to the specified construction.
Who should sign the sample approval?
Assign the decision to the buyer, AV integrator or project owner named in the submittal. Record conditions and unresolved questions.
Request a Controlled Material Review
Send the sample requirement, projector, image size, seating layout, room light, preferred structure and destination market through the Contact page. A controlled sample record helps MGF quote the correct material and lets the production team inspect against the same reference.