Projection Screen Viewing Distance and Image Height Guide

---
Projection screen size should be planned from the room, not from a diagonal number alone. Viewing distance, image height, content type, audience layout, aspect ratio, projector position and furniture all influence whether the image feels readable and comfortable.
In This Guide
Quick Answer
Measure the nearest, typical and farthest viewing positions. Define the visible image width and height in the target aspect ratio, then check the lowest and highest image edges against sightlines, furniture and presenter movement. Use the result to select the screen structure and material. The final quotation should identify visible image dimensions separately from black borders, casing, drop and installation clearances.
MGF’s screen size and aspect ratio guide covers the basic geometry. This article adds the room and seating checks needed before choosing a product family.
Who This Guide Is For
This guide is for AV integrators, distributors, contractors and project buyers who need a documented selection and project-planning path for this topic before requesting a quotation.
1. Map the Seating, Not Just the Wall
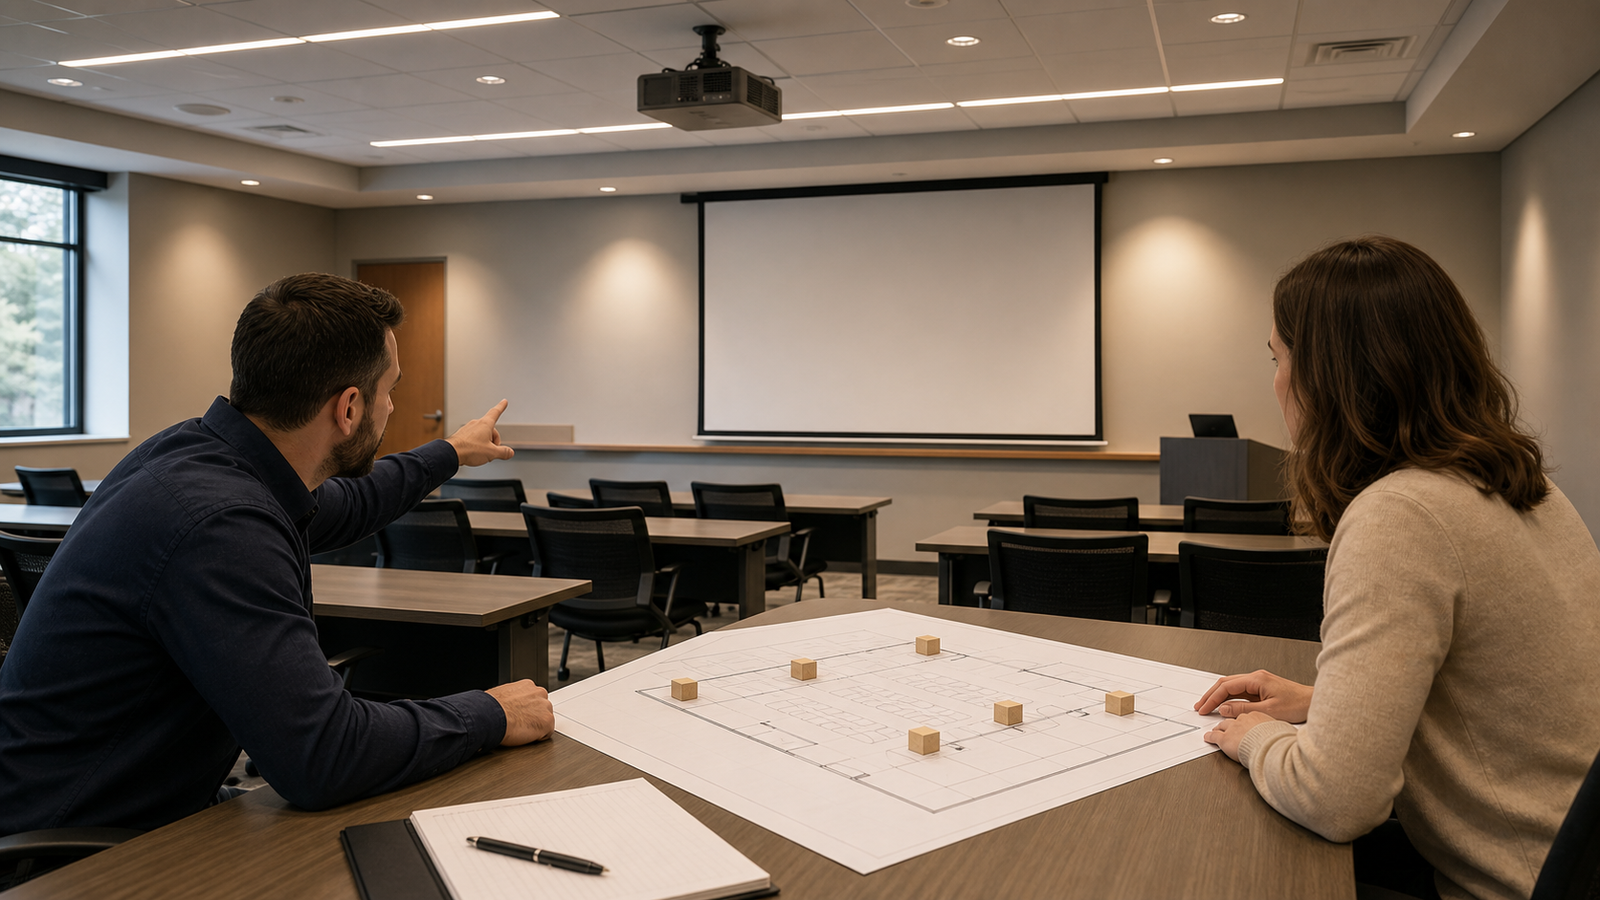
Draw the room plan with the nearest seat, central seat row, widest side seats and any standing or circulation zone. In a conference room, people may sit close to the screen at the head of the table. In a classroom, the rear row may determine legibility. In a commercial display, viewers may approach from different angles and heights.
Record the actual eye height for seated and standing users, then identify obstructions such as a table, stage, lectern, speaker or display case. A screen that fits the wall may still be too low for the first row or too high for the rear row.
2. Define Visible Image Height and Width
Start with the content format. 16:9 is common for video and modern presentation systems; 16:10 remains relevant for some computer and classroom workflows; 4:3 may be required by legacy content or a specific installed system. Do not mix visible image size with total fabric, border or housing dimensions.
For a chosen aspect ratio:
- set the visible image height or width;
- calculate the other dimension from the ratio;
- confirm the nearest and farthest viewing positions;
- check projector throw and lens shift;
- add border, drop, housing and service clearances.
The projector pairing guide should be used after the image geometry is fixed.
3. Use Content Type to Set the Priority
| Room or content | Geometry priority | Practical question |
|---|---|---|
| Conference room | Readable text from the far side | Can the smallest regular text be read without leaning forward? |
| Classroom | Consistent image height and rear-row legibility | Does the bottom edge clear desks while the top remains comfortable? |
| Home theater | Immersive width and seat angle | Does the image fill the intended field without forcing the first row too close? |
| Commercial display | Mixed standing and walking positions | Is the image visible above counters and from side approaches? |
| Event or staging | Audience scale and sightlines | Does the support structure stay outside the main circulation path? |
These are starting priorities. Confirm the actual audience, content and room before purchase.
4. Set the Image Height From Sightlines
The lower image edge must clear tables, stages and people without making the top edge uncomfortable. For seated rooms, check the first-row eye line to the bottom of the image and the rear-row angle to the top. For standing audiences, include a range of user heights and prevent the image from being hidden by counters or equipment.
Floor-rising systems add a housing and base footprint. Ceiling or wall-mounted electric screens add casing, brackets and drop. A fixed frame adds border and wall depth. See the floor-rising guide and the in-ceiling installation checklist when the mounting method changes the image height.
5. Check Projector Geometry and Light
Once the visible image is defined, confirm throw ratio, lens shift, brightness and mounting position. A projector may reach the desired width but still fail to fit the lens offset or service zone. The room’s light pattern then determines whether the selected surface should be matte white, grey, ALR, CLR/UST or another approved material. Gain is not a substitute for correct screen size; use the gain and viewing-angle guide for the trade-offs.
Room Planning Worksheet
| Field | Record before requesting a quotation |
|---|---|
| Room | Length, width, ceiling height and wall condition |
| Audience | Nearest, typical, farthest and side positions |
| User posture | Seated, standing or mixed |
| Content | Video, slides, text, CAD, worship or signage |
| Visible image | Width, height and aspect ratio |
| Mounting | Wall, ceiling, in-ceiling, fixed frame, floor rising or portable |
| Projector | Model, lens, throw ratio, brightness and offset |
| Room light | Windows, fixtures, stage light and blackout plan |
| Service | Access to housing, cable route and replacement path |
MGF Product Direction
MGF can compare suitable product directions once the project brief confirms visible image size, aspect ratio, projector geometry, material direction, mounting condition, control requirements, quantity and destination market. The final quotation should identify the exact model, compatible material, drawing and approval information rather than treating a generic guide as a product specification.
Project / OEM Checklist
- visible image width, height and aspect ratio;
- projector model, lens position and image geometry;
- room or venue use, seating and ambient-light condition;
- proposed material, structure, mounting and service access;
- power, control and installation responsibility where relevant;
- required quantity, destination market, drawing revision and approval owner.
Continue Your Project Planning
- Screen Selection Guides
- Electric Projection Screens
- Fixed Frame Projection Screens
- Conference Room Applications
- Factory & Production
- Projection Screen Size and Aspect Ratio Guide
- Contact MGF Screens
FAQ
Is a larger screen always easier to see?
Not always. A larger image can improve readability at the rear but may reduce comfort for the first row, exceed the projector’s output or create sightline conflicts.
Should I specify diagonal size?
Use visible width and height with aspect ratio. Diagonal can be included as a reference, but it should not be the only dimension.
How high should a classroom screen be?
There is no universal height. Check desk obstruction, first-row sightline, rear-row viewing angle and projector geometry.
Does screen material change the recommended size?
It can affect brightness, contrast and viewing width. Select size and material together with the projector and room light.
Request a Room Geometry Review
Send a room plan or the worksheet fields above to MGF through the Contact page. Include the visible image, aspect ratio, audience positions and projector data so the product recommendation is based on the complete room.