Floor Rising Projection Screen OEM Buying Guide for AV Distributors
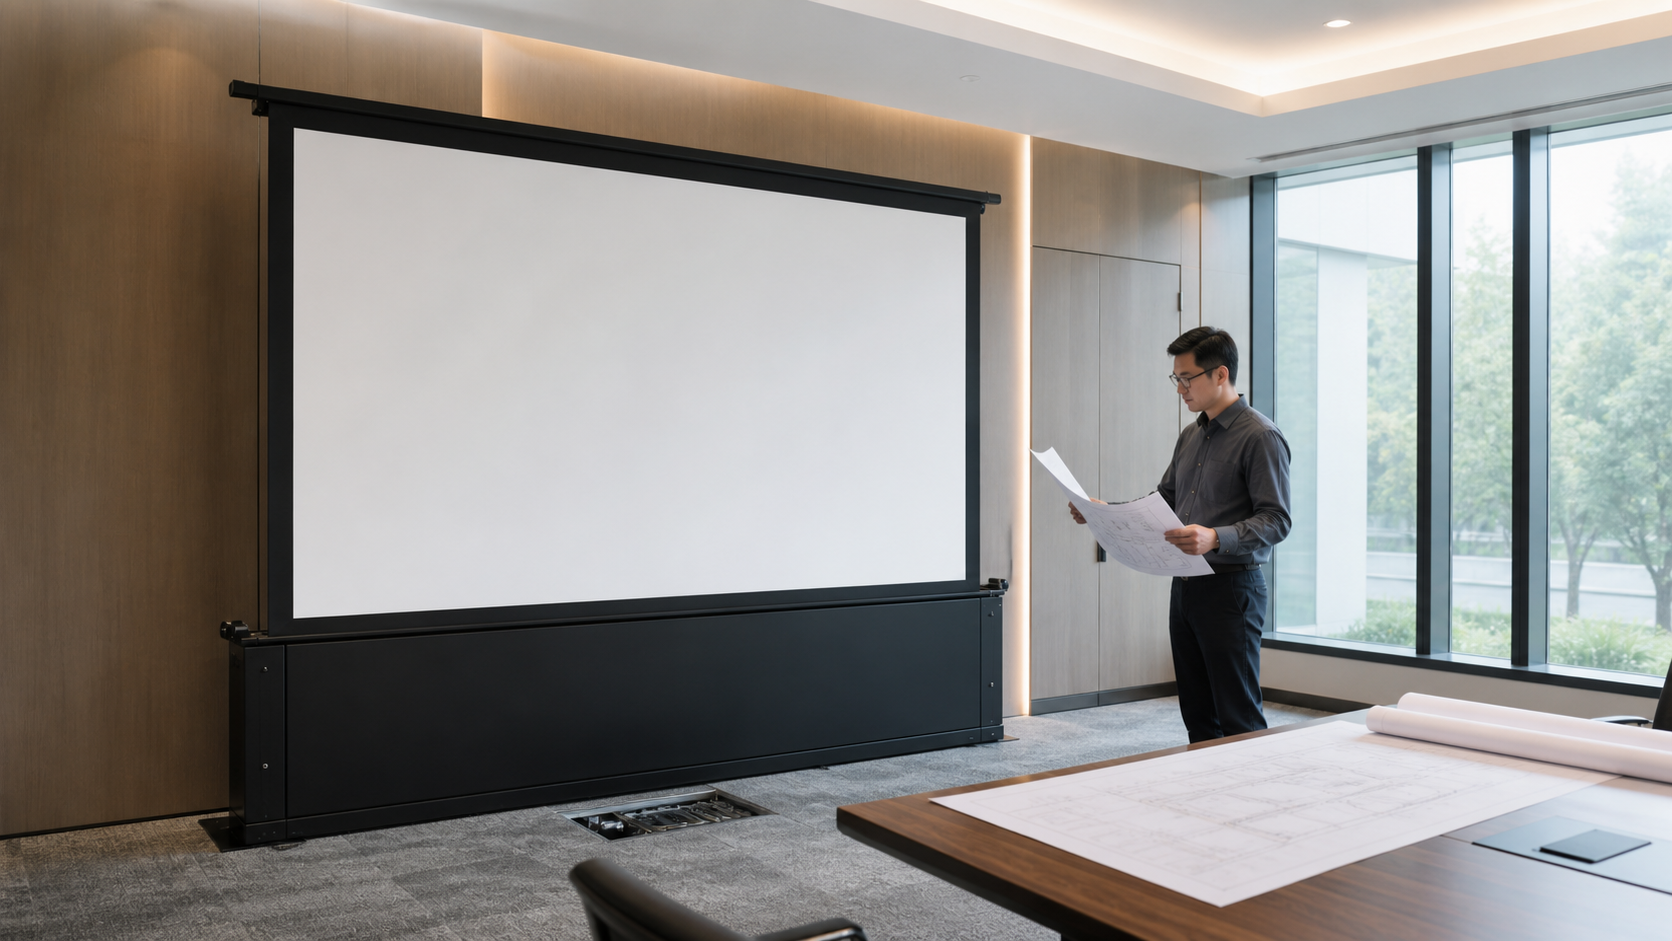
An OEM procurement guide for floor-rising screen image geometry, enclosure, surface, control, service access, branding, documents and packing.
In This Guide
Quick answer
A floor rising projection screen OEM order should be specified as a complete system, not only by screen size. Confirm the visible image area, aspect ratio, enclosure, lifting method, control interface, surface, installation opening, service access, finish, branding, packing and inspection documents before approving a quotation.
Floor rising screens are often used where a wall or ceiling installation is not practical, such as boardrooms, museums, premium retail spaces and multipurpose rooms. Use the floor rising screen product page to compare the available structure, then request a model-specific drawing.
For the room-level choice between floor-rising, ceiling, wall and portable formats, first review the existing floor-rising projection screen selection guide. This article then focuses on the OEM quotation, approval and document package.
OEM option matrix
| Option | Buyer decision | What to confirm with the factory |
|---|---|---|
| Screen geometry | Image width, height, ratio and border | Approved drawing and visible image area |
| Enclosure | Surface-mounted, recessed or furniture-integrated | Opening, cover, finish and service access |
| Lift system | Electric raising and lowering | Travel, stop positions and operating sequence |
| Control | Local switch, remote or project control | Interface, wiring and commissioning method |
| Surface | Matte, grey, ALR or project-specific | Projector compatibility and approved sample |
| Protection | Cover, brush seal and edge protection | Dust control and transport protection |
| Branding | Label, manual, carton and accessory pack | Artwork files and revision approval |
| Documents | Drawing, installation, QC and packing list | Controlled document set for each SKU |
1. Start with the room and the installation condition
Record the room use, ceiling height, floor construction, viewing direction and whether the screen must disappear when it is not in use. A floor rising unit needs a clear lift path and a stable, level base. Check furniture, door swings, cable routes and any recessed opening before confirming the model.
For a room that allows permanent wall mounting, compare the fixed-frame screen options. For a screen that must be hidden in a cabinet or floor opening, keep the floor-rising concept and ask for an installation drawing rather than assuming a standard housing will fit.
2. Define the image area separately from the case
The requested diagonal is not enough for procurement. List visible image width and height, aspect ratio, black border or masking, overall case length, case height, opening width and required clearances. These values affect both the quotation and the furniture or floor detail.
Ask the supplier to mark the visible image area and the overall enclosure dimensions on the same drawing. This prevents a screen with the correct diagonal but the wrong case footprint from reaching production.
3. Pair the surface with the projector
Confirm projector type, throw direction, brightness environment, seating layout and whether the projector is standard or ultra-short throw. Do not select an ALR or CLR-like surface only because the room is bright; the surface must match the projection geometry. Review the screen materials guide and request a labeled sample for any non-standard surface.
For an acoustic-transparent surface, verify speaker placement and the expected viewing distance. For a conventional matte surface, verify that room lighting can be controlled. The approved sample and projector test should become part of the purchase record.
4. Confirm lift, control and safety requirements
Ask how the motor is controlled, where the power and signal connections are located, how upper and lower stop positions are commissioned, and what happens if an obstruction is detected. The final wiring method must follow the project electrician's requirements.
Link the order to the motorized screen installation guide and the limit-setting guide. Keep the approved wiring diagram and commissioning checklist with the shipment documents.
5. Plan for service access and replacement
Floor rising screens can be integrated into furniture, a stage or a floor box. Before approving the design, define how the cover, motor and screen surface can be inspected without damaging surrounding finishes. Confirm the replacement path for the control device and screen surface, even if the initial project is new.
6. Control OEM branding and packaging
Separate standard components from custom work: enclosure color, visible label, remote artwork, user manual, carton markings, barcode and accessory presentation. Approve artwork and packing drawings with revision numbers. For export shipments, request corner protection and a packing list that identifies each screen and accessory set.
7. Require a project document set
The minimum submittal should include the approved product drawing, image and case dimensions, surface name, mounting/opening detail, wiring information, installation sequence, QC checkpoints and packing list. Use the OEM/ODM solutions page and technical submittal checklist as the handoff path.
FAQ
Is a floor rising screen suitable for every room?
No. It needs a stable base, a clear lift path and service access. Review the room and furniture conditions before selecting the structure.
Can the case be customized for a cabinet or floor opening?
Some projects can use a customized enclosure or finish. Confirm the option with a current drawing and sample; do not assume a standard case will fit a custom opening.
Which control method should a distributor specify?
Specify the control method required by the project, such as local control, remote control or an approved integration interface. Confirm wiring and commissioning responsibilities in writing.
What should be approved before mass production?
Approve the visible image dimensions, enclosure drawing, surface sample, control and wiring details, branding artwork, packing plan and QC criteria.
Request floor-rising OEM information
Send the target image size, aspect ratio, room condition, enclosure requirement, surface, control method, quantity and destination through MGF OEM/ODM Solutions or Contact.