Projection Screen Replacement vs New Installation Guide
---
Replacing a projection screen is not always a like-for-like purchase. The room, projector, content, light, controls, ceiling, wall and service access may have changed since the original screen was installed. A good retrofit decision compares the existing structure with the current performance and installation requirements.
In This Guide
Quick Answer
Keep the existing installation only when the housing or frame is sound, the opening and mounting remain suitable, replacement material and controls are available, the projector geometry still works and the project’s image goals have not changed. Choose a new installation when the room, image size, projector type, material, control system, access or safety conditions have materially changed. Start with a measured survey and the original model record, not with a photograph.
MGF’s electric screen range and fixed frame range provide product directions. Use the casing and drop guide and viewing distance guide before selecting the replacement size.
Who This Guide Is For
This guide is for AV integrators, distributors, contractors and project buyers who need a documented selection and project-planning path for this topic before requesting a quotation.
1. Survey the Existing Installation
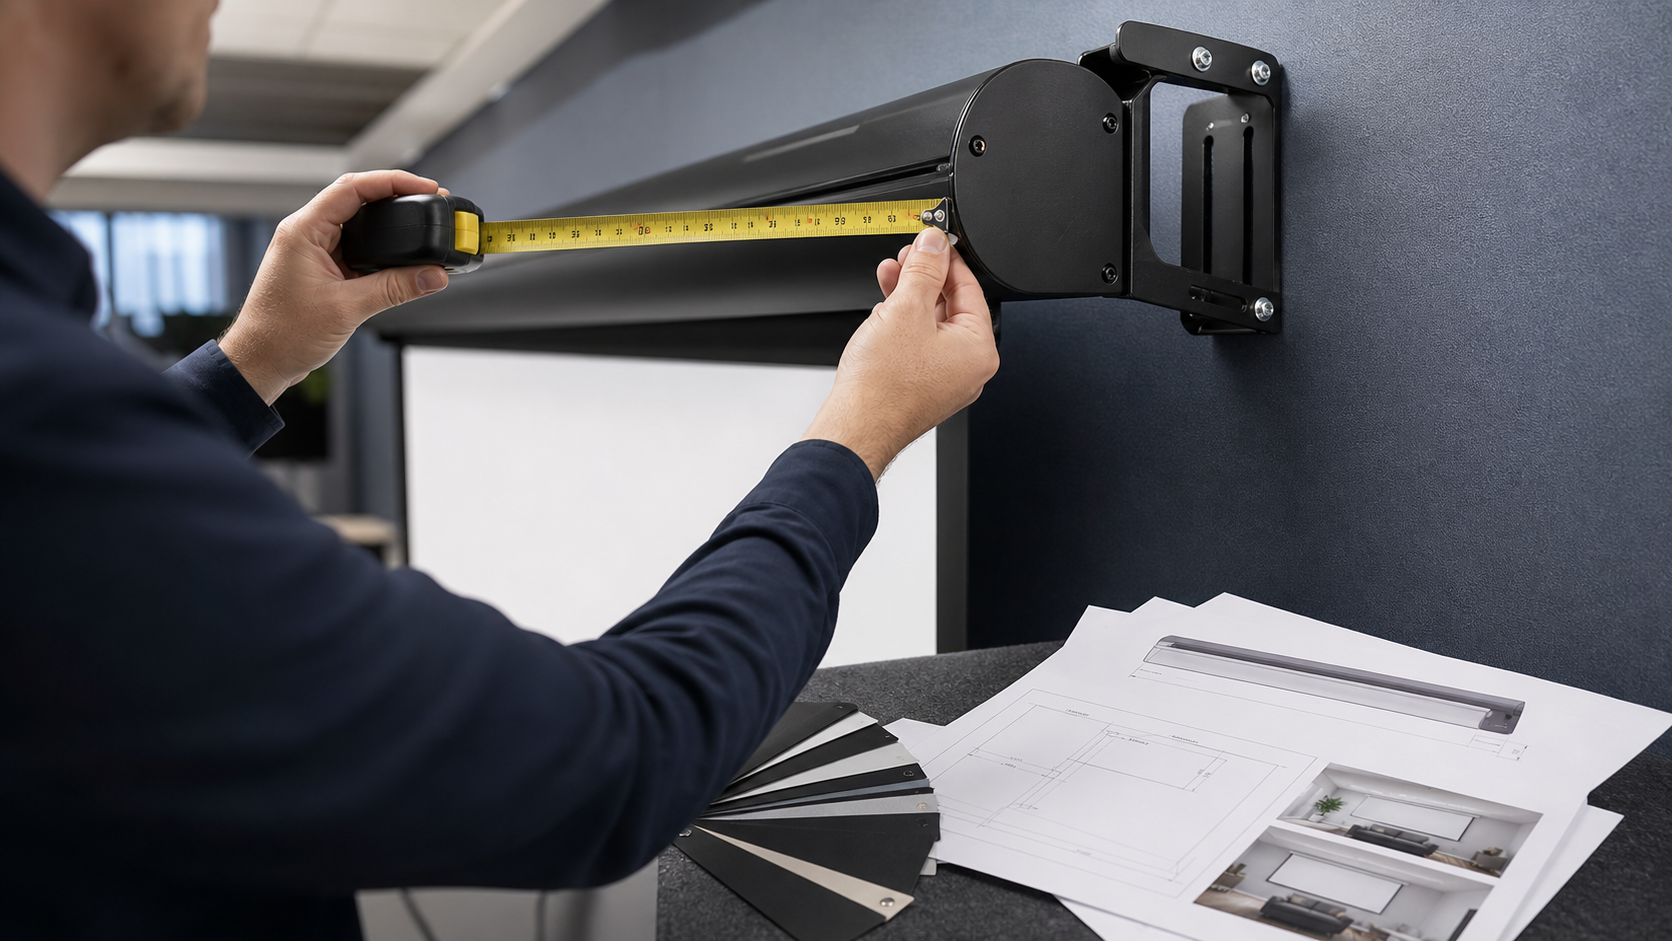
Record model or label, visible image size, aspect ratio, material, border, drop, casing or frame, mounting method, cable route, control method and service access. Measure the opening, wall or ceiling condition, projector position, image height, room light and seating.
Photograph the housing ends, brackets, bottom bar, frame corners, fabric, power/control points and any damage. If the label is missing, document what is known and what is uncertain. Do not assume that a visually similar screen uses the same roller, motor, fabric attachment or control system.
2. Separate Cosmetic, Mechanical and Project Needs
| Situation | Likely direction | Questions to answer |
|---|---|---|
| Surface dirty but structure sound | Clean or surface service | Is approved cleaning enough? |
| Waves, edge curl or uneven travel | Technical repair or replacement | Is the cause material, tension, housing or installation? |
| Projector changed to short throw/UST | New material and geometry review | Is the existing surface compatible? |
| Room renovated | New installation or coordinated retrofit | Do opening, image height and controls still fit? |
| Housing inaccessible or damaged | New installation direction | Can it be safely removed and serviced? |
| Content and audience changed | Re-size or re-specify | Does the image height and ratio still work? |
The table is a planning aid, not a final diagnosis.
3. Check Projector and Material Compatibility
A replacement surface must match the projector’s throw geometry and the room’s light. If the projector is now short throw or UST, the old standard-throw fabric may be unsuitable. If the room has more daylight, a matte white surface may no longer deliver the desired contrast. Review the short-throw material guide and ALR, CLR and UST guide.
For a motorized screen, confirm material rolling compatibility, bottom-bar weight, side tensioning, limit procedure and controller. For a fixed frame, confirm wall flatness, frame depth and replacement fabric attachment.
4. Decide Whether to Reuse the Housing or Frame
Reuse can save demolition and ceiling work, but only when dimensions, brackets, service access, motor/controller, roller, fabric attachment and loading remain compatible. A housing that looks clean may still have a discontinued motor or an inaccessible control receiver.
Ask MGF to review the original model, photos, measurements and current requirements. Do not order a replacement fabric or motor from appearance alone. A new screen may be safer when the old components cannot be traced or the required material and control configuration has changed.
5. Plan the Retrofit Around Site Access
Confirm how the old screen will be isolated, removed, packed and disposed of, and how the new system will reach the opening. Protect the wall, ceiling, furniture and screen surface. Coordinate power, control, projector alignment and commissioning with the installer and AV programmer.
If the new screen changes image height, border or drop, update the room drawing and acceptance form. The site acceptance checklist should reflect the new configuration.
6. Compare Total Project Cost and Risk
Compare repair, surface replacement, component retrofit and complete replacement. Include survey, removal, access equipment, new brackets, wiring, control programming, ceiling repair, testing, downtime and spare parts. The lowest purchase price is not always the lowest project cost if the old opening creates coordination risk.
Decision Checklist
- original model and configuration traceable;
- current image size and aspect ratio still suitable;
- projector and material geometry compatible;
- housing or frame dimensions confirmed;
- motor, roller, tensioning and controller supportable;
- mounting and service access available;
- power and control routes reusable or redesigned;
- room light, seating and content unchanged or re-planned;
- removal, installation and acceptance responsibilities assigned;
- replacement or new-installation drawing approved.
MGF Product Direction
MGF can compare suitable product directions once the project brief confirms visible image size, aspect ratio, projector geometry, material direction, mounting condition, control requirements, quantity and destination market. The final quotation should identify the exact model, compatible material, drawing and approval information rather than treating a generic guide as a product specification.
Project / OEM Checklist
- visible image width, height and aspect ratio;
- projector model, lens position and image geometry;
- room or venue use, seating and ambient-light condition;
- proposed material, structure, mounting and service access;
- power, control and installation responsibility where relevant;
- required quantity, destination market, drawing revision and approval owner.
Continue Your Project Planning
- Screen Selection Guides
- Electric Projection Screens
- Fixed Frame Projection Screens
- Conference Room Applications
- Factory & Production
- Contact MGF Screens
FAQ
Can I replace only the fabric?
Sometimes, but confirm dimensions, attachment, rolling, tensioning, bottom bar, material compatibility and the condition of the frame or housing first.
Is a new projector a reason to replace the screen?
It can be. Short throw, UST, new image size, brightness or room-light conditions may require a different material or structure.
Should the old brackets be reused?
Only when their position, load path, condition and compatibility with the new model are confirmed by the installation documentation.
How do we choose between retrofit and a complete new system?
Compare technical compatibility, access, downtime, supportability and total project cost—not only the component price.
Request a Replacement or Retrofit Review
Send photos, model labels, measurements, projector information, room plan, current symptoms, desired image and installation constraints to MGF through the Contact page. The factory can then distinguish a serviceable retrofit from a new-installation requirement.