Projection Screen On-Site Acceptance Inspection Checklist

---
Site acceptance confirms that the installed projection screen matches the approved scope and can be operated safely within the project’s responsibilities. It is not only a visual inspection. The team should verify identity, dimensions, mounting, image behavior, movement, controls, finish, access and documentation.
In This Guide
Quick Answer
Accept a screen only after comparing the installed item with the approved model, drawing, material sample and purchase order. Check the room condition, level and fixing, active image, border and drop, screen travel or frame tension, control commands, projector alignment, visible defects, service access and handover documents. Record photos, measurements, test results, exceptions and the person responsible for closing each item.
The Quality Control checklist covers factory evidence. This page focuses on the installed condition and should be linked with the motorized troubleshooting guide when an operation test fails.
Who This Guide Is For
This guide is for AV integrators, distributors, contractors and project buyers who need a documented selection and project-planning path for this topic before requesting a quotation.
Before the Installer Demonstrates the Screen
Collect the approved drawing, model or configuration code, material sample, purchase order, installation instructions, control schedule, room plan and inspection form. Confirm that the projector, power, control system and wall or ceiling work are ready for a coordinated test.
Do not accept a screen from a catalogue photo. Compare the physical label, carton record or packing list with the approved configuration. For multiple rooms, check each room’s line item separately.
1. Identity and Physical Installation
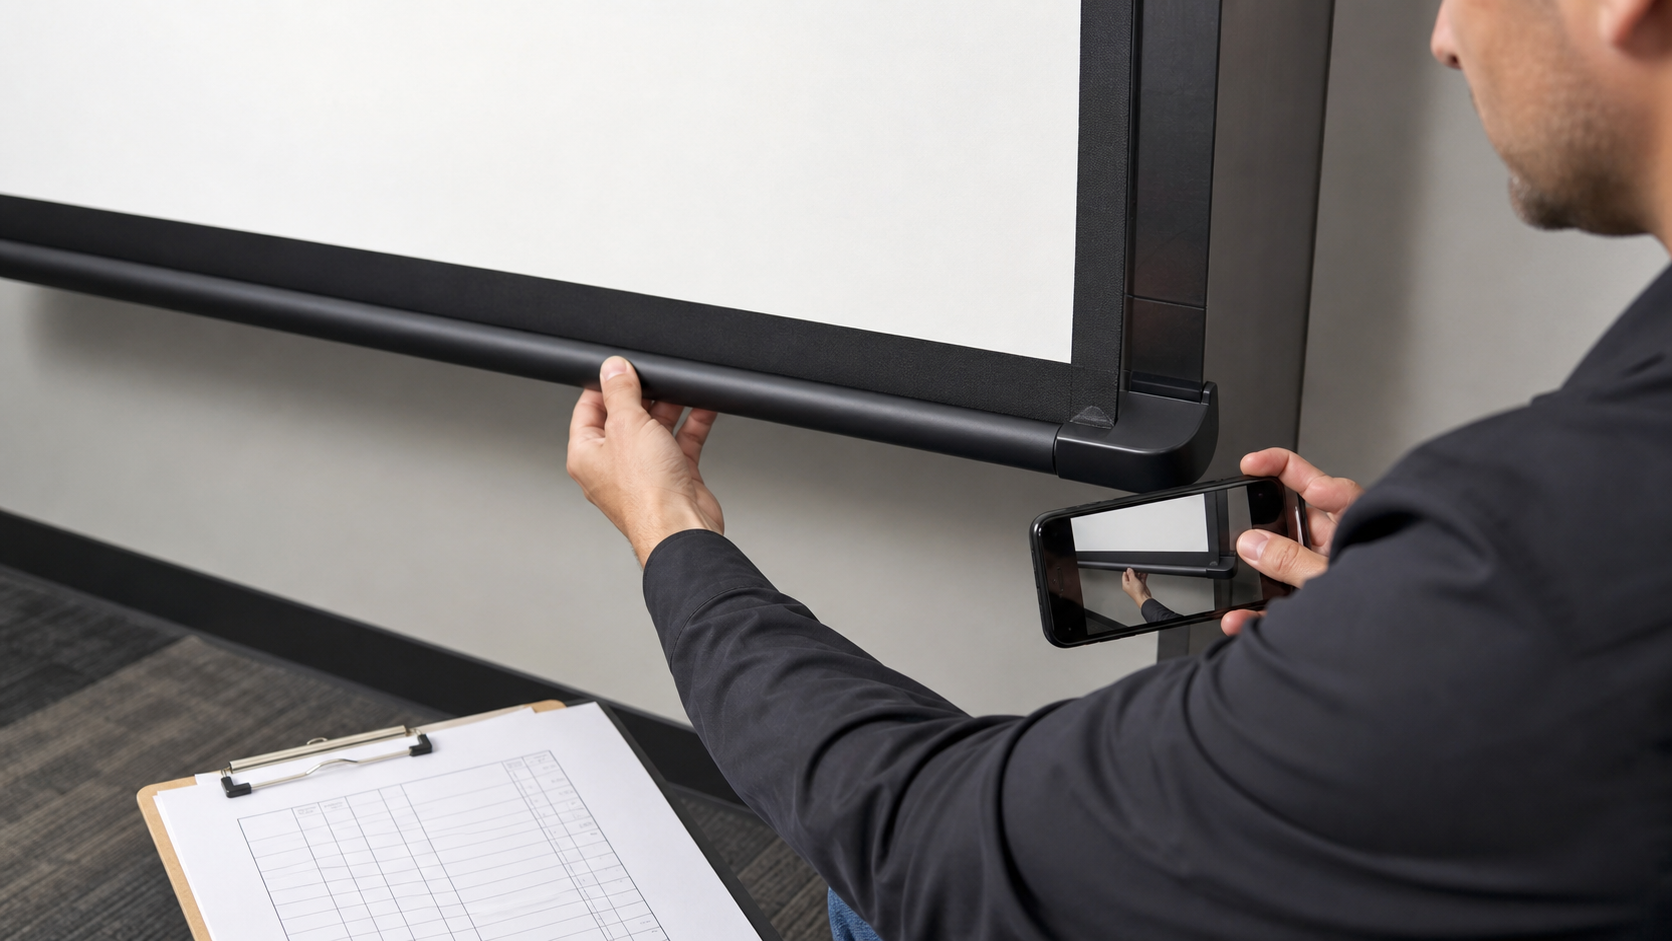
Check model, size, aspect ratio, material, border, drop, casing or frame, mounting method and accessories. Confirm the screen is level, secure and clear of lights, HVAC, doors, furniture and circulation paths. For fixed frame screens, inspect the frame plane, corners, border and wall stand-off. For electric or floor-rising screens, inspect the housing, bottom bar, base and travel path.
Use the casing and drop guide for the measurement logic. If the installation differs from the drawing, record it as an exception rather than silently revising the acceptance criteria.
2. Image Surface and Geometry
Measure or visually confirm the active image, aspect ratio, border and image height. Look for visible creases, edge waves, uneven retraction, frame twist, contamination or damage. Test the projector at the intended image size and focus. Compare center, corners and side seats using typical content such as text, slides and dark scenes.
Material behavior must be judged against the approved sample and room condition. Do not turn a generated scene image or a showroom observation into a performance guarantee.
3. Movement and Controls
For motorized screens, test down, stop and up commands using the agreed local and remote controls. If integration is in scope, test the documented interface after the installer confirms wiring and programming. Check that the screen stops at the approved positions and that the fabric or bottom bar moves without unexpected rubbing or obstruction.
Do not repeatedly cycle a screen that is noisy, tilted, blocked or uneven. Record the symptom, isolate power when required by the installation procedure and use the noise and uneven-retraction guide for the next diagnostic step.
4. Access, Safety and Handover
Confirm that service access, removable panels, controls, power isolation and the removal route remain available. Check that installers have removed packaging, protected the surface and left the room clean. For portable or floor-rising systems, include case, base, legs, connectors and storage instructions.
The handover should include final model list, drawing revision, material reference, control notes, installation record, acceptance result, cleaning guidance, manuals and open-item log.
Site Acceptance Table
| Area | Check | Evidence |
|---|---|---|
| Identity | Model, size, ratio, material and revision | Label, drawing and PO match |
| Installation | Level, fixing, clearance and access | Photos and measurement notes |
| Surface | Image, border, drop, texture and defects | Projector test and photos |
| Movement | Up, stop, down or fixed-frame tension | Test record |
| Controls | Local, remote and agreed integration | Command result |
| Coordination | Projector, room light, furniture and sightlines | Room observation |
| Handover | Manuals, cleaning, spares and open items | Document register |
Handling Exceptions
An exception should state the symptom, location, approved tolerance or decision, responsible party and due date. If a surface is damaged, a casing is inaccessible or the control method is different from the drawing, record it before sign-off. “Accepted with comments” is useful only when the comments are owned and tracked.
MGF Product Direction
MGF can compare suitable product directions once the project brief confirms visible image size, aspect ratio, projector geometry, material direction, mounting condition, control requirements, quantity and destination market. The final quotation should identify the exact model, compatible material, drawing and approval information rather than treating a generic guide as a product specification.
Project / OEM Checklist
- visible image width, height and aspect ratio;
- projector model, lens position and image geometry;
- room or venue use, seating and ambient-light condition;
- proposed material, structure, mounting and service access;
- power, control and installation responsibility where relevant;
- required quantity, destination market, drawing revision and approval owner.
Continue Your Project Planning
- OEM & Procurement Guides
- OEM & ODM Projection Screens
- Quality Control
- Factory & Production
- Contact MGF Screens
FAQ
Can acceptance be completed without the projector?
Physical installation can be inspected, but image, focus, brightness and projector geometry require a coordinated projector test.
What if the screen works but the image is not level?
Record the condition and check screen level, projector alignment, mounting and limits. Do not mask the issue by changing the acceptance standard without approval.
Should every room use the same acceptance form?
Use a common form with room-specific fields. Fixed frame, electric, portable and floor-rising systems need different movement checks.
Who signs the acceptance record?
Use the project’s named owner, installer, AV integrator or consultant. Record any conditional approval and open items.
Request a Site Acceptance Pack
Send the approved drawing, model list, room schedule, controls, projector plan and required handover format to MGF through the Contact page. A consistent acceptance record helps separate installation issues from product or control issues.