How to Choose a Projection Screen for a Conference Room
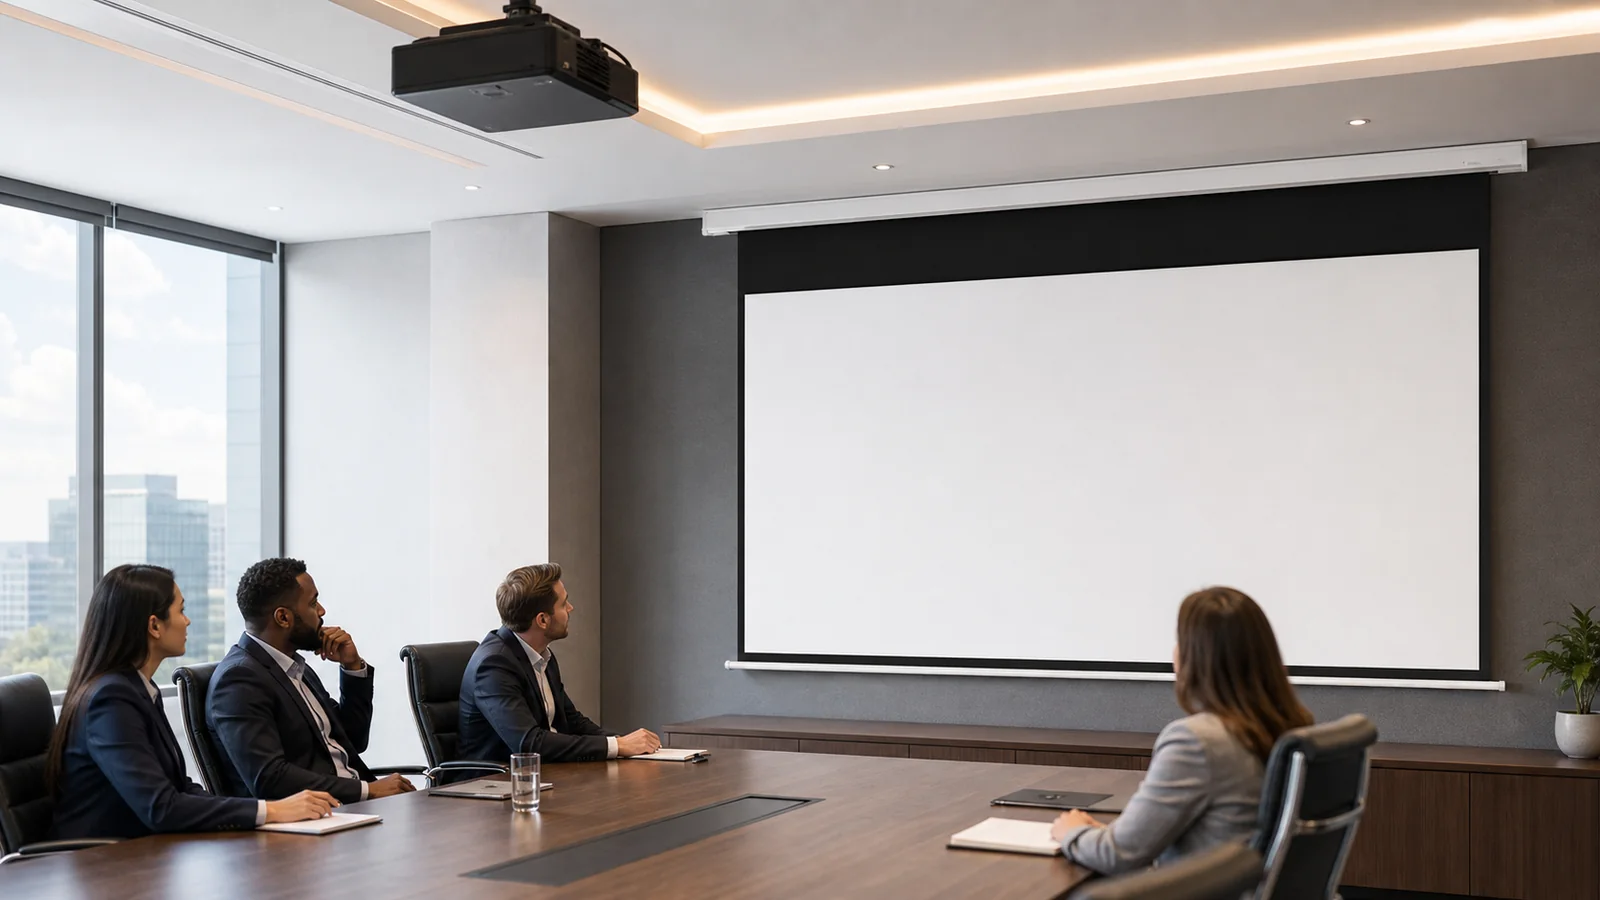
The best conference room projection screen is the one that keeps presentations readable for the farthest viewer, matches the projector and room lighting, fits the architecture, and is simple enough for everyday users. In many frequently used rooms, a motorized 16:9 or 16:10 screen is a practical starting point. However, the correct size, material and installation method must be calculated from the actual room.
Do not begin with a diagonal size from a catalog. Begin with the content, seating plan, projector, ceiling conditions and operating workflow. Then choose between a fixed-frame, surface-mounted electric, recessed electric, tab-tensioned or manual screen.
In This Guide
Who This Guide Is For
This guide is intended for:
- AV integrators designing meeting and training rooms;
- contractors coordinating ceiling, power and mounting work;
- distributors preparing commercial screen quotations;
- facilities and IT teams standardizing multiple rooms;
- project buyers reviewing screen specifications.
For a complete room-level overview, see MGF’s conference room projection screen application.
Quick Selection Table
Swipe to compare columns.
| Room requirement | Screen type to evaluate | Why |
|---|---|---|
| Frequent daily use | Motorized screen | Consistent button or system-based operation |
| Clean finished ceiling | In-ceiling motorized screen | Housing is installed above the ceiling; the screen retracts into it. |
| Flatter retractable surface is important | Tab-tensioned electric screen | Side tension provides additional surface control |
| Screen can remain visible | Fixed-frame screen | Fixed perimeter tension and no deployment cycle |
| Simple, occasional use | Manual pull-down screen | No motor or power required |
| Temporary or mobile meeting | Portable pull-up or desktop screen | No permanent installation |
Which Room Conditions Change the Selection?
When an input is missing, keep the configuration provisional until the room or equipment evidence resolves it.
Swipe to compare columns.
| Room condition | Direction to evaluate | Hold the recommendation when |
|---|---|---|
| Ceiling already closed | Surface-mounted electric; evaluate recessed installation only with suitable structure and service access. | The opening, fixing structure, delivery route or future access is not confirmed. |
| Wide seating and lights on | Control light first; compare an exact white surface with a compatible ALR sample from the edge seats. | Light direction, projector output or edge-seat image quality has not been checked. |
| UST projector | Review projector geometry, material orientation and the complete deployed surface together. | Only a generic ALR or tab-tension label is available; the actual combination is unconfirmed. |
| Detailed spreadsheets or drawings | Trial critical text at the farthest seat before fixing image size and mounting height. | The room plan or smallest required content is unavailable. |
| Integrated room controls | Specify the selected controller, interface, local fallback and wiring. | Supported options have not been separated from the supplied control package. |
Step 1: Define the Meeting-Room Content
Ask what users actually display:
- video calls with shared content;
- slides and documents;
- spreadsheets or dashboards;
- engineering drawings;
- training videos;
- mixed laptop sources.
Text-heavy content often needs more image height and more conservative viewing distances than video. Test the smallest important spreadsheet cells, captions or interface labels from the farthest seat. A screen that looks large during a movie can still be too small for a financial model.
The content also guides aspect ratio. 16:9 aligns with widescreen video and many modern conferencing workflows. 16:10 offers additional vertical area for computer presentations when the projector and sources support it. Use 4:3 mainly when the room must retain a legacy format.
Step 2: Calculate the Visible Image Size
Separate visible image dimensions from overall product dimensions. A quoted diagonal normally describes the image area, while the housing, borders, brackets and black drop add to the installed size.
Check:
- the farthest viewer’s ability to read critical content;
- the nearest viewer’s comfort;
- the bottom image edge above tables and heads;
- the top image edge below the ceiling and screen housing;
- side viewing angles;
- projector throw and available lens range.
For a detailed calculation process, use the projection screen size and aspect ratio guide.
Step 3: Match the Screen to the Projector
Record the projector model, native resolution, aspect ratio, throw ratio, lens position and brightness calculation. The screen’s image width determines the required throw distance:
Throw ratio = projector throw distance ÷ visible image widthConfirm the actual lens can create the target image from the planned mounting point. Do not rely on digital keystone correction as a substitute for correct geometry.
For ultra-short-throw projection, material and surface geometry require special attention. A generic “ALR” label does not prove UST compatibility. Verify the exact screen material, orientation and projector combination.
Step 4: Evaluate Ambient Light and Material
Meeting rooms rarely operate in complete darkness. Users may need light for note-taking, cameras and safe movement. Identify where the light comes from and whether it can be controlled during presentations.
Material selection should consider:
- projector brightness at the chosen image size;
- room-light direction and intensity;
- seating width and viewing angle;
- white-background slides versus video content;
- surface texture and image uniformity;
- standard-, short- or ultra-short-throw projection.
Use the material catalog and compatible-model list to shortlist the exact surface. Confirm its current name or code, the selected model and size, and the intended projector geometry. Compare samples under the room’s operating lighting and from the widest seats; the ALR versus matte white guide explains the main trade-offs.
Step 5: Choose the Installation Format
Surface-mounted electric screen
A surface-mounted screen can be installed on a wall or ceiling and is often practical for retrofit projects. It keeps installation visible and generally easier to access than a fully recessed product. MGF’s electric projection screen range includes multiple housing formats.
In-ceiling electric screen
An in-ceiling electric projection screen hides the housing above the finished ceiling. This can suit boardrooms and design-sensitive spaces, but it requires early coordination of structural support, cutout dimensions, power, controls, black drop and service access.
Tab-tensioned electric screen
Consider tab tension when the room needs a retractable surface and places higher priority on planarity. Compare standard and tensioned formats using the tab-tensioned versus non-tensioned screen guide.
Fixed-frame screen
A fixed frame can provide a consistently tensioned surface in a dedicated room. It is less suitable when the wall must serve other purposes or the screen must disappear between meetings.
Manual screen
A manual pull-down screen may fit small, occasionally used rooms where power and automation are unnecessary. Mount it at a reachable height and consider how users will operate it without disturbing nearby equipment.
Step 6: Define the Control Workflow
Map the user experience before selecting controls:
- How does a user start the meeting?
- Should the screen deploy with the projector or room controller?
- Is a wall switch, wireless remote, trigger or another interface required?
- Where is the fallback control if the main controller is unavailable?
- Should the upper and lower limits be protected from routine adjustment?
For ceiling-screen projects, MGF has confirmed support for 12V trigger, RS485, a manual wall switch and dry contact. Confirm the selected controller, wiring and included versus optional accessories before specifying integration. Wireless remote, app, voice and USB-trigger options remain model-dependent; one interface does not establish compatibility with every room-control system.
Step 7: Coordinate Ceiling, Power and Access
The screen must be supported independently by suitable structure. A suspended ceiling grid is not automatically a structural mounting point.
Before ceiling closure, verify:
- product and packaged delivery dimensions;
- structural fixing points;
- visible image centerline;
- housing and bracket clearances;
- power location and local electrical requirements;
- control wiring or receiver location;
- projector beam path;
- lighting, sprinkler, camera, speaker and HVAC conflicts;
- removable access for future service.
Approve the current model drawing before fabrication of ceiling openings or millwork.
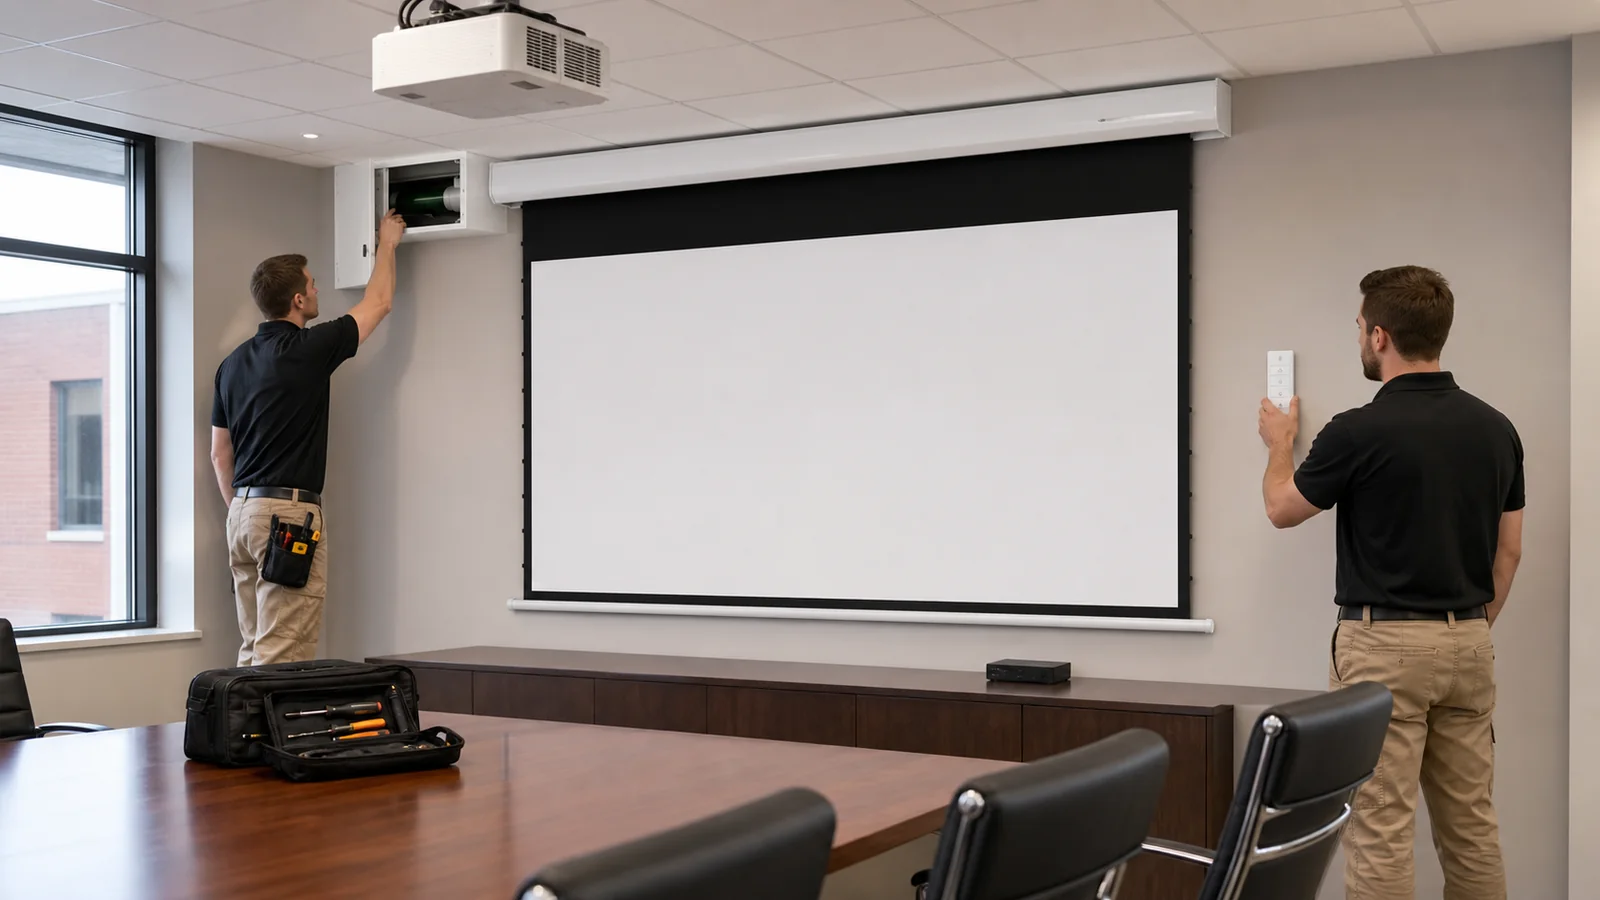
Step 8: Plan for Operation and Maintenance
A conference room is often used by people who did not select the equipment. Keep the daily workflow simple and provide a short operating instruction near the controller.
For retractable screens:
- keep the deployment path free from furniture;
- do not pull or add weight to the bottom bar;
- do not clean the surface with unapproved chemicals;
- retain access to the motor and controls;
- inspect brackets and alignment during periodic room maintenance.
For multi-room projects, standardize product codes, controls, accessories and spare parts where practical. Record any rooms that require exceptions.
Recommended MGF Configurations by Room Type
Swipe to compare columns.
| Room type | Configuration to review | Key reason |
|---|---|---|
| Small meeting room | Standard electric or manual screen | Simple installation and operation |
| Medium conference room | Surface-mounted electric screen | Frequent use and flexible retrofit mounting |
| Executive boardroom | In-ceiling electric or in-ceiling tab-tension | Concealed architecture and stronger surface requirements |
| Training room | Standard electric screen | Repeatable presentation workflow |
| Dedicated visualization room | Fixed frame or tab-tensioned electric | Surface planarity and detailed content |
The standard electric projection screen is a reference option for common wall or ceiling installations. The final choice still depends on dimensions, material, projector, control and destination-market requirements.
Procurement Checklist
Send the supplier or integrator:
- room drawing and ceiling height;
- seating plan and farthest viewing distance;
- primary content and aspect ratio;
- projector model, lens and throw position;
- visible image width and height;
- wall, ceiling or recessed installation;
- material and ambient-light requirements;
- power and control method;
- room quantity and standardization needs;
- destination market and project schedule.
Ask for a technical drawing, product specification, control diagram, installation instructions, packaging dimensions and current compliance documents for the selected model.
Common Conference-Room Screen Mistakes
- Choosing diagonal size before testing content legibility;
- confusing image width with housing width;
- selecting 16:9 or 16:10 without checking sources;
- finalizing the ceiling before approving the screen drawing;
- leaving no access to a recessed motor or controls;
- assuming every remote-controlled screen integrates with every AV system;
- treating screen gain as a complete ambient-light solution;
- mounting the image too low behind the conference table;
- using one specification for every room without checking exceptions.
Conference Room Worked Example
Use this as a transparent planning example, not a universal specification. Assume a 6.0 m × 4.5 m room, a 120-inch 16:9 image, a projector lens position 4.25 m from the screen and a 5,000-lumen projector. The 120-inch image is approximately 2.66 m wide × 1.49 m high, so the throw-ratio check is 4.25 ÷ 2.66 = 1.60.
Swipe to compare columns.
| Planning check | Worked value | Approval action |
|---|---|---|
| Room | 6.0 m × 4.5 m | Verify seating, sightlines and finished ceiling height. |
| Visible image | 2.66 m × 1.49 m | Confirm the farthest seat can read the smallest critical content. |
| Throw ratio | 4.25 m ÷ 2.66 m = 1.60 | Compare 1.60 with the selected lens range at the actual mounting point. |
| Projector output review | 5,000 lm is the assumed projector rating, not a measured result in this room. | Confirm output in the intended image mode, lens position, image area and room lighting. Approve legibility and uniformity with the selected surface. |
Related Planning Resources
FAQ
What aspect ratio is best for a conference room screen?
16:9 is a common choice for widescreen video and conferencing. 16:10 may be useful for presentation-heavy rooms when the projector and sources support it. Choose from the room’s real content rather than a universal rule.
Is a motorized screen better than a manual screen for meetings?
It is usually more convenient for frequently used or integrated rooms. A manual screen can still be appropriate for simple, occasional use where power and automation are unnecessary.
Should a conference room use a tab-tensioned screen?
Consider one when the screen must retract and flatter surface performance is important. For general presentation rooms, a standard motorized screen may provide better value.
Can the screen be installed after the ceiling is finished?
Surface-mounted products often allow more retrofit flexibility. Recessed screens should be coordinated before ceiling closure so structure, power, opening dimensions and service access are correct.
How do I choose screen material for a bright meeting room?
First control avoidable light and calculate projector brightness at the intended image size. Then test a compatible surface for viewing angle, uniformity and the room’s light direction. Do not select only by the term “ALR.”
Request a Conference Room Screen Recommendation
MGF supports distributors, integrators, contractors and project buyers with electric, in-ceiling, tab-tensioned, fixed-frame and manual screen formats. Send your room plan, projector model, visible image size, aspect ratio, installation method, controls, material preference, quantity and destination.
Contact MGF Screens for a conference room configuration and quotation